
Locations
Dead Rails map and locations: Sterling Town, Fort Constitution, the Castle, Tesla Lab and the Outlaw Fort, with distance markers, loot tables and danger levels.
Introduction
Distance is the only honest map in Dead Rails. The route is procedurally generated, but major landmarks sit at predictable bands: small towns in the opening kilometres, Fort Constitution across the middle of the run, the Castle near 40 km, and the Tesla Lab and Outlaw Fort in the final stretch before the bridge at 80 km. Each location has its own loot pool and danger profile. Banks hide vault codes, mansions hold gold statues, forts offer vendors and turrets, and the Castle concentrates werewolves and vampires around some of the best mid-run rewards. Biomes add another variable, changing spawn tables and the look of the desert. This hub explains what each landmark offers, how far it sits from the start, and what the crew should carry before arriving.
Landmark Distance and Loot Table
| Location | Distance | Loot | Danger |
|---|---|---|---|
| Sterling Town | Opening route | Bank vault, mine and stores | Moderate; vault code hunt |
| Fort Constitution | 20-60 km | Military stockade and Supply Depot | High; Captain Prescott |
| The Castle | ~40 km | Best mid-run valuables and Vampire Knife | Severe; werewolves and vampires |
| Outlaw Fort | 80 km | Final safe point and bridge access | Severe; final assault |
Landmark Guide
Sterling Town
Bank town built around a five-part vault code hunt
Fort Constitution
Military stockade and the route’s main mid-run reset point
The Castle
High-risk landmark near 40 km with the best mid-run loot
Tesla Lab
Late-run laboratory tied to Nikola Tesla and the Electrocutioner
Outlaw Fort
The 80 km safe point that becomes the final battleground
Core Mechanics
Map knowledge is really route planning. Every stop costs fuel and time, and every detour delays the crew relative to the spawn window. Small towns are efficient because they pack a bank, a store and a sheriff office into a short walk, which means several loot sources without moving the train. Forts are efficient for a different reason: they combine vendors, turrets and a defensible layout, making them the natural place to reset after a bad night. The Castle is a high-risk objective that concentrates supernatural enemies around high-value loot, so it should be attempted with a full crew and a clear retreat plan. Banks add a puzzle layer because vault codes are split across town buildings, rewarding crews that search thoroughly instead of rushing the vault door.
Advantages
Knowing the map turns a random desert into a planned route. Crews can decide in advance which towns are worth clearing, where to refuel and which landmarks justify a fight. Forts provide a reliable reset point, banks provide some of the best bond density in the game, and the Castle offers loot that can fund the rest of the run. Biome knowledge also helps because different regions change spawn tables, so a crew can choose a route that matches its supplies. Finally, landmarks create natural meeting points for public lobbies: even players who do not communicate can converge on a named fort or town, which reduces the chaos of a sixteen-player server.
Challenges
The route is procedurally generated, so exact layouts and distances vary between runs. A guide can say that the Castle sits near 40 km, but it cannot promise which building holds the vault code or whether a town will have a Gunsmith. High-value locations also attract high-risk enemies, and a crew that arrives under-equipped may lose more than it gains. Some landmarks, such as the Tesla Lab or event-specific areas, require puzzle steps that can change after a patch. Treat distances as approximate, scout before committing, and leave a location if the cost of clearing it exceeds the loot you can carry.
Frequently Asked Questions
Where is the Castle in Dead Rails?+
How do I open a bank vault?+
What are the safe zones?+
Quick Tips
Search the whole town before opening the vault. Bank codes are spread across multiple buildings, so a crew that crowds the vault wastes the daylight it needs to find the remaining pieces. Split the search by building type, then regroup at the bank, because a crew that walks the same rooms twice wastes daylight it needs for the return trip.
Use forts as reset points. Fort Constitution and the Outlaw Fort combine vendors, turrets and cover, making them the best places to repair armour and redistribute ammo after a rough night. Repair armour and redistribute ammunition at the fort before pushing, since the next stretch often has fewer safe places to stop.
Mark the distance, not the building. Procedural layouts change, but the 40 km Castle and 80 km bridge bands are reliable planning anchors for deciding when to stop looting and push. If a location costs more ammo and healing than the loot it provides, leave it for another run instead of turning a profitable route into a rescue mission.
Featured

Dead Rails Alien Biome: Hazards, Loot, and Route Secrets
Explore the dead rails alien biome, compare its hazards and spawns with other regions, and uncover useful landmarks for a high-risk expedition.
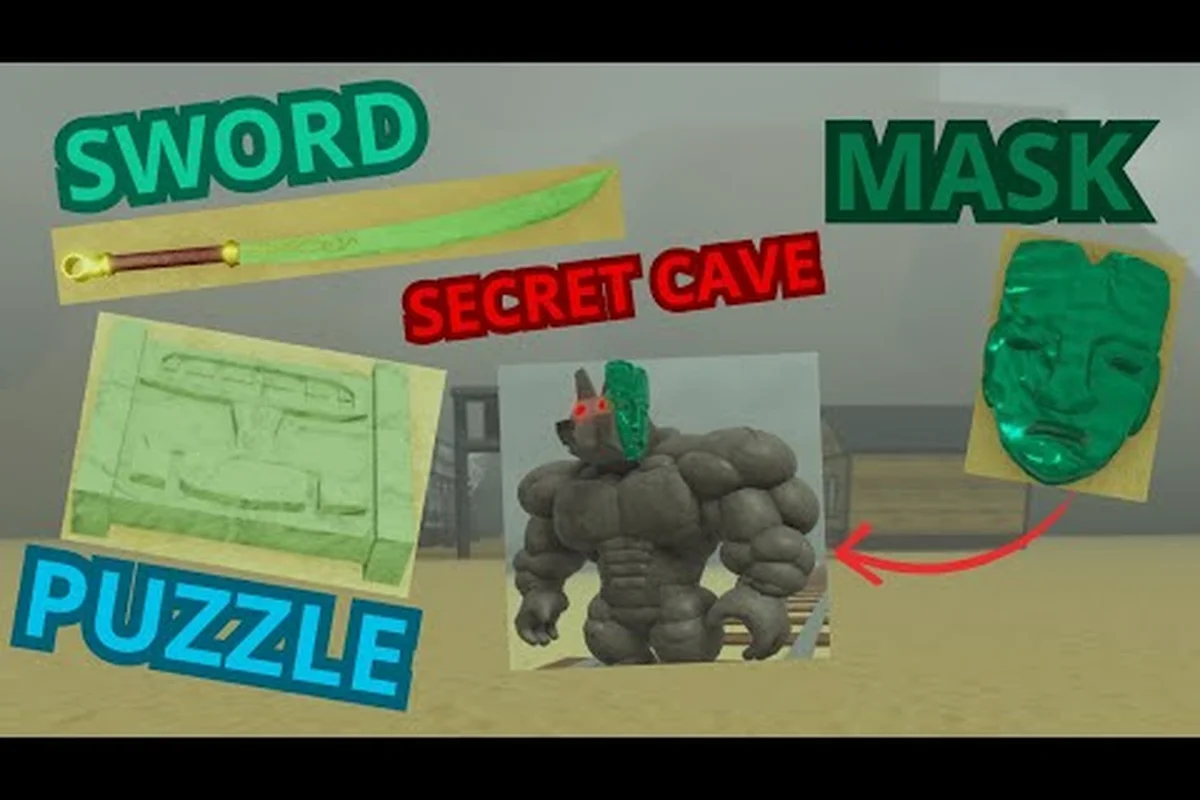
Dead Rails Cave: Secret Routes, Mines, and Hidden Loot
Discover dead rails cave routes, mine entrances, and hidden locations while learning which landmarks offer worthwhile loot beyond the main track.

Dead Rails Gunsmith Store: Locations, Weapons, and Ammo
Find dead rails gunsmith store locations and learn where to buy firearms, ammunition, and essentials for a safer early expedition.
All Articles

Dead Rails How to Open the Bank: Vault Code and Route Guide
Learn how to open the bank by collecting five Sterling vault codes, locating the bank, and planning a safe route through hostile territory.
Dead Rails Map: Biomes, Towns, Forts, and Key Landmarks
Explore the Dead Rails map across desert, forest, snow, alien, and unicorn biomes, with route landmarks from Sterling Town to the 40 km Castle.

Dead Rails Safe Zones: Forts, Distance Markers, and Survival
Use Dead Rails safe zones to plan between forts and vendor points, track the 40, 60, and 80 km markers, and reach shelter with enough fuel.
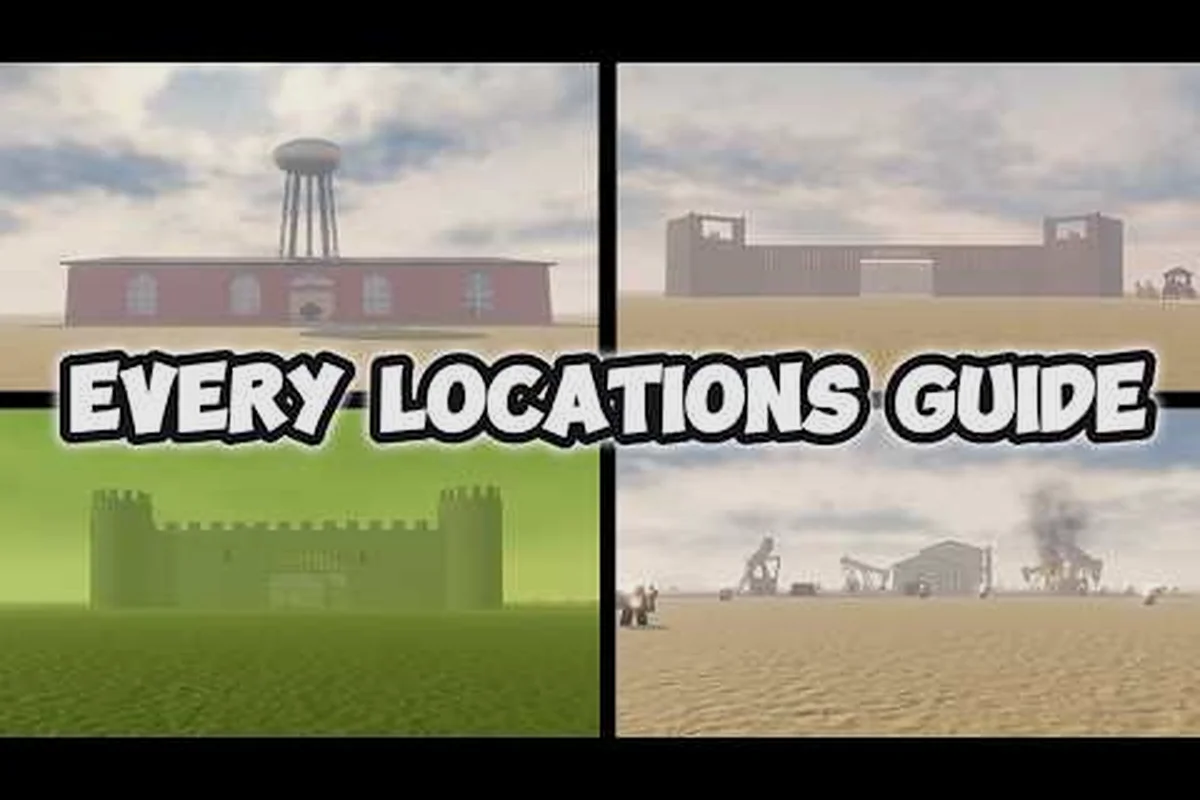
Dead Rails Zombie Town: Sterling Bank Codes and Mine Guide
Navigate dead rails zombie town in Sterling, gather the five bank vault codes, explore the mine, and find the loot worth risking the route.