
Classes
Dead Rails classes explained: Cowboy, Doctor, Miner, Vampire, Necromancer and Werewolf, their unlock costs, strengths and class mastery trees for solo and co-op crews.
Introduction
Classes define what a player can do before the first town is looted. Dead Rails currently fields more than thirty classes, from budget utility picks such as Doctor and Miner to event-locked options like Alien, Krampus and Frankenstein. Each class starts with different gear and stats, and the class mastery system adds ability trees to Cowboy, Doctor, Miner, Vampire, Horse and Necromancer so the same role plays differently once XP is invested. Because Bonds spent in the lobby are lost when a run ends, class choice is an economic decision as much as a combat one. A cheap class that enables looting usually outperforms an expensive specialist that cannot be equipped with a gun. This hub explains the roles most crews meet first, what each one actually contributes, and which mastery trees are worth the grind for solo and co-op play.
Dead Rails Class Quick Reference
Cowboy
Default
Doctor
15 Bonds
Miner
15 Bonds
Vampire
Unlock
Necromancer
Unlock
Werewolf
Unlock
Class Roster
Cowboy
The default gunslinger with the cheapest reliable opening kit
Doctor
The support pick that keeps public lobbies from collapsing
Miner
Utility class built around light, coal and opening the route
Vampire
High-mobility melee class with a powerful but risky mastery tree
Necromancer
Summoner that turns defeated enemies into extra crew
Werewolf
Bruiser with high health and heavy melee pressure
Core Mechanics
A class is chosen in the lobby before boarding, and its starting kit determines the opening ten minutes. Gunslingers save money because they spawn armed, utility classes generate fuel or healing, and bruisers trade utility for raw survivability. Mastery adds a second layer: earning XP with a class unlocks nodes that change abilities, stats and resource behaviour. Cowboy mastery replaces High Noon with Dead Eye, for example, while Necromancer mastery supports bond routes built around raised enemies. Because mastery progress persists outside a single run, it rewards players who commit to a role instead of rotating every match. The practical rule is to pick one farming class and one combat class, master both, and spend Bonds on the class that matches how your crew actually plays rather than on the most expensive unlock.
Advantages
A well-chosen class multiplies a crew without costing extra players. Doctor keeps a public lobby alive through mistakes that would otherwise end the run, Miner turns dark buildings and coal-heavy routes into reliable income, and Cowboy removes the need to buy a first gun. Mastery trees make those early picks scale into the late game instead of becoming dead weight, which is why investing XP in a cheap class is rarely wasted. Classes also let a group specialise: one player handles healing, another opens locked routes, and a third provides the damage needed for bosses. That division of labour is far more efficient than six players all buying the same flavour-of-the-month class and competing for the same loot.
Challenges
Class purchases are lost at the end of a run, so an expensive role that dies early wastes the Bonds that funded it. Several classes also carry hard counters: Vampire takes damage in direct sunlight, bruisers lack utility, and support classes struggle to solo bosses. Event-locked classes such as Alien and Krampus depend on puzzles or seasonal windows, which means a new player cannot simply buy the strongest option. Balance also shifts with updates, and a mastery tree that was dominant last month may be nerfed after the next patch. Players should therefore learn the base kit of a class before judging it, and avoid spending the whole bond bank on a single experimental pick.
Frequently Asked Questions
What is the best class for solo players?+
How do I unlock the Alien class?+
Does class mastery carry between runs?+
Quick Tips
Buy utility before power. Doctor at 15 Bonds saves more runs than an expensive damage class, because healing and revives keep the crew moving while damage can always come from a found rifle. A Doctor who never has to revive anyone is still valuable, because the threat of a revive changes how aggressively the rest of the crew can loot and fight.
Match the class to the lobby. A public crew with no healer benefits more from Doctor than from a fourth bruiser, while a coordinated group can afford specialist picks because someone else already covers support. Check what the lobby already has before buying: two Doctors can be redundant, while a crew with no one carrying bandages will struggle after the first serious fight.
Check sunlight and moon rules. Vampire and Werewolf play very differently depending on the time of day, so plan when you travel and when you fight instead of assuming the class is weak. If you plan a Castle run, pick a class that can survive supernatural enemies or bring a crucifix, because raw damage alone rarely saves a player caught in the open.
Featured

Dead Rails Arsonist Class: Fire Skills and Builds
Master the dead rails arsonist class with fire abilities, bond priorities, upgrade choices, and practical builds for solo and co-op crews.
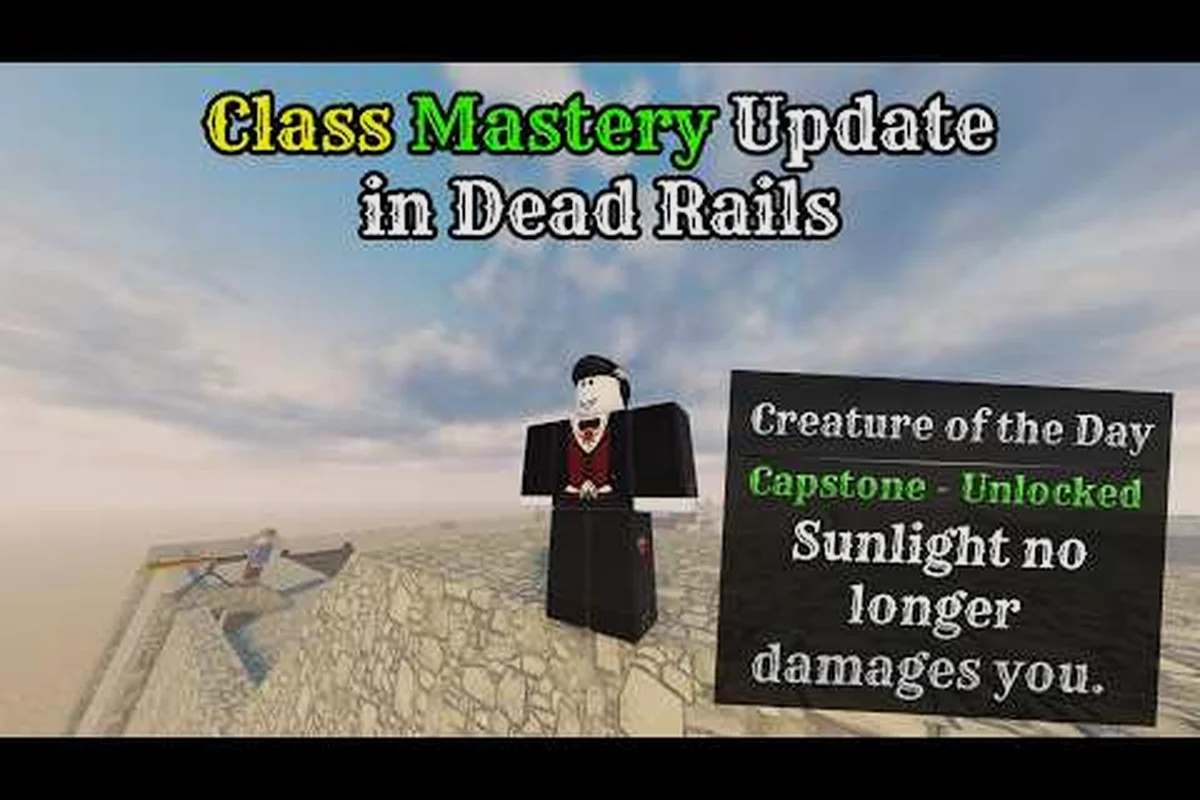
Dead Rails Class Mastery Guide: Unlock Stronger Abilities
Explore the Dead Rails class mastery guide to unlock classes, build ability trees, and turn Doctor, Cowboy, and other roles into stronger specialists.
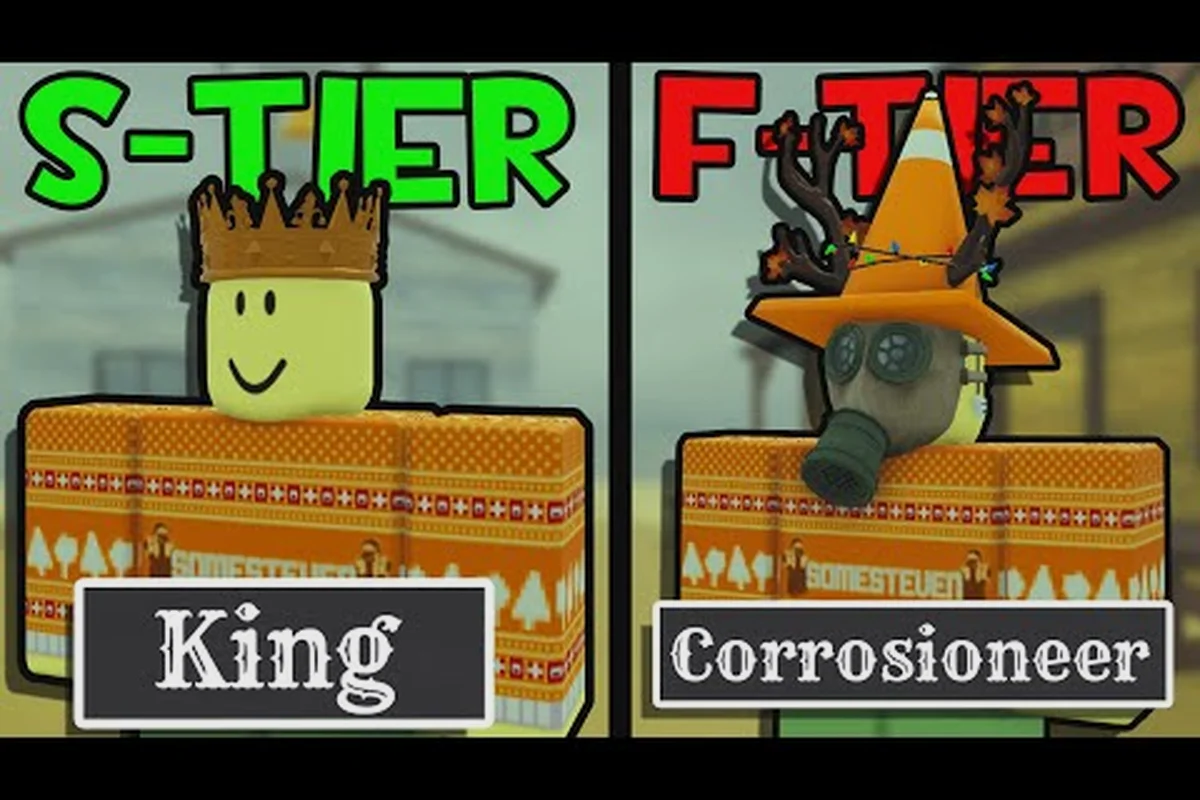
Dead Rails Classes: Compare the Best Picks for Your Run
Compare Dead Rails classes by cost, abilities, and team value, including budget choices, event unlocks, and strong options for solo or co-op play.
All Articles
Dead Rails Demolitionist Class: Explosive Build Guide
Master the Dead Rails Demolitionist class with explosive abilities, effective upgrade paths, squad tactics, and class-role comparisons.
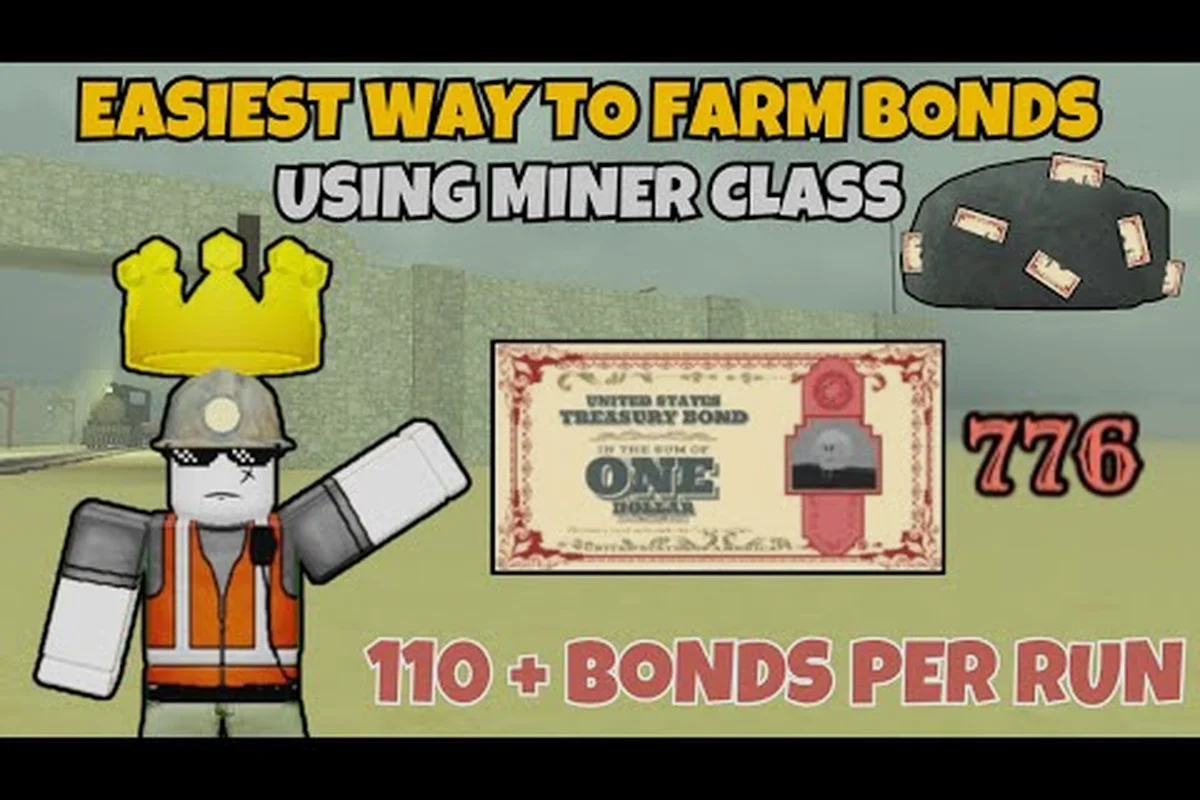
Dead Rails Miner Class: Master the Resource Specialist
Learn how the Dead Rails Miner class works, compare its practical build value, and choose the right abilities for mining-focused or crew-based runs.
Dead Rails Tycoon Class: Rich Builds and Team Value
Explore the Dead Rails Tycoon class, including its bond cost, economic abilities, upgrade priorities, and whether its wealth-focused skills suit your run.

Dead Rails Zombie Class: Undead Powers and Builds
Master dead rails zombie class bond costs, undead abilities, upgrade paths, combat strengths, and effective roles for solo and co-op expeditions.
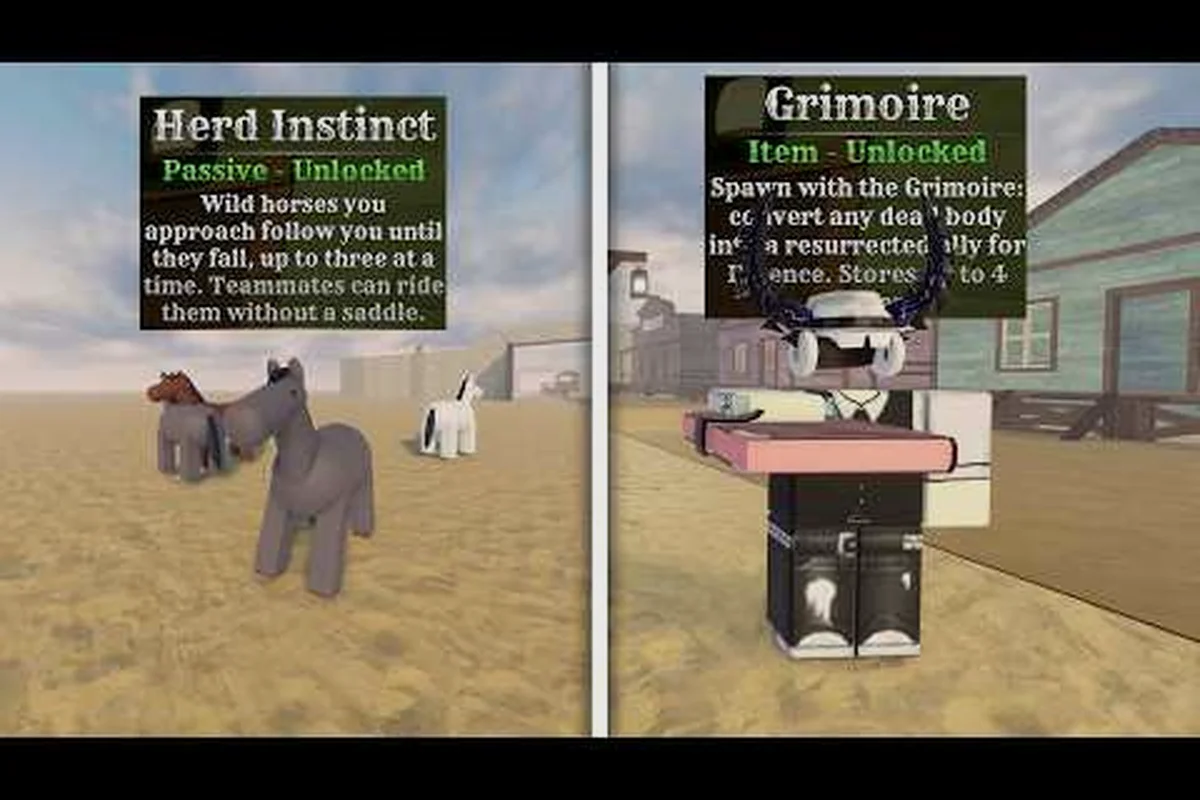
Dead Rails Horse Mastery: Bond Costs and Build Tips
Master dead rails horse mastery with bond costs, riding abilities, escape tactics, upgrade priorities, and build choices for Werewolf, Packmaster, and Alien.