
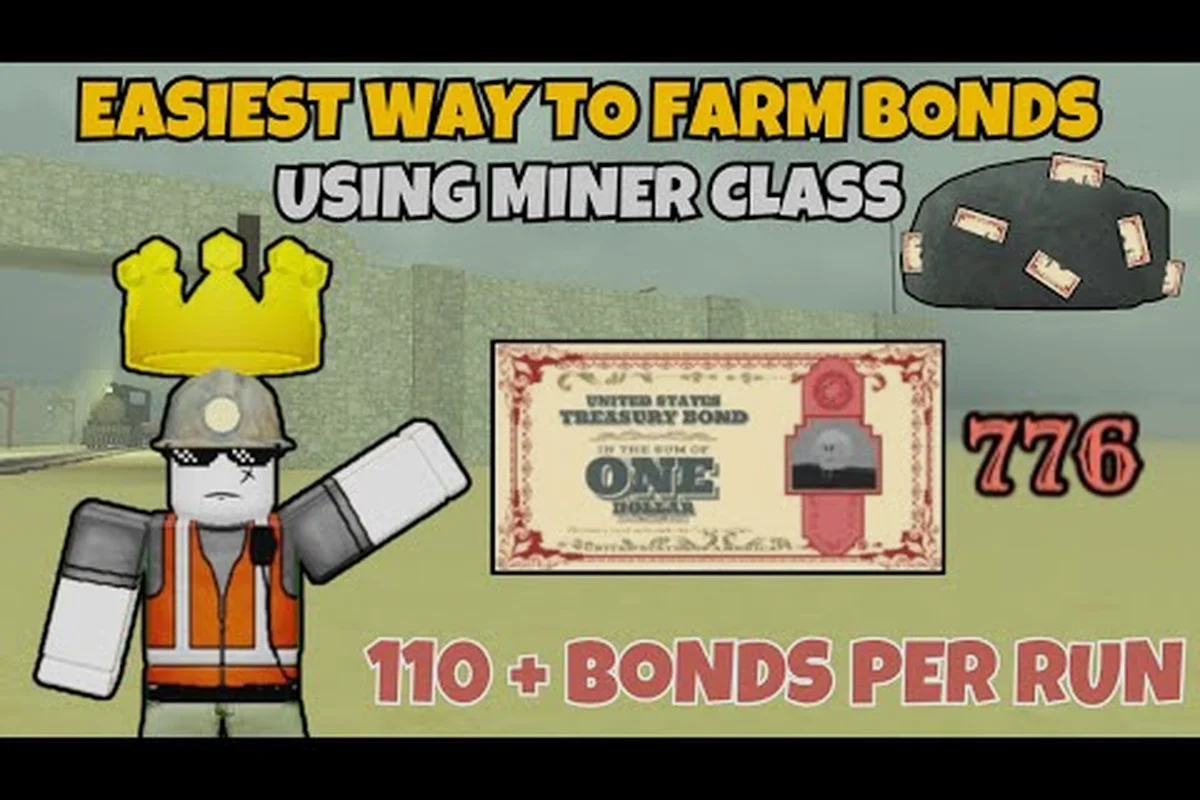
The dead rails miner class converts resource gathering into a practical combat advantage, making it valuable for players who want steady progression. Its advantage comes from pairing mining output with crew support, so a mining specialist can improve the team’s survival while generating materials for upgrades and repairs. Compare that contribution with the dead rails vampire class, dead rails necromancer class, and dead rails horse class to decide whether your crew needs stronger extraction, revival-focused utility, or faster mounted movement before planning your next run.
Dead Rails Miner Class Overview and Starting Kit
The Dead Rails Miner class is a resource-focused option for players who want useful gathering tools and dependable momentum rather than an exaggerated specialty. According to community field notes, the class can be purchased for 15 bonds and begins with a mining helmet, coal, and a pickaxe. That combination gives a new run immediate practical value, especially when the crew needs resources to survive later encounters.
That starting equipment matters because early extraction games can punish players who spend too much time gathering without a reliable plan. A Miner can contribute while traveling, convert available materials into useful output, and still carry a weapon for emergencies. The class is therefore less about standing still at a mineral deposit and more about deciding when gathering is worth the risk.
Core Advantages
The main strengths of the Dead Rails Miner class are straightforward: access to resources, a useful mining theme, and equipment that can help early and mid-run plans. The class also has an appealing price for players building their first permanent roster, according to community data. That does not make it automatically the strongest option, but it lowers the opportunity cost of experimenting.
| Miner benefit | Practical value | Best-fit situation |
|---|---|---|
| Mining helmet | Adds a recognizable resource-gathering identity | Beginning a new run with limited funds |
| Coal | Provides a useful early crafting resource | Preparing equipment before a harder route |
| Pickaxe | Supports mining and gathering tasks | Runs focused on collecting materials |
| 15-bond class cost | Makes the class approachable | Building a first permanent class roster |
| Resource focus | Supports a predictable crew contribution | Cooperative play with shared objectives |
The most important distinction is between starting tools and endgame power. A pickaxe can make a Miner more efficient at resource work, but it does not automatically make the class the best fighter. That is why understanding the surrounding build options matters.
What the Miner Does Not Solve
The Miner still needs a way to survive sudden attacks, and the class does not provide the same direct recovery or damage advantages as a revival specialist or high-impact melee build. Community reports also indicate that weapons and armor purchased with bonds during a run disappear when that run ends, so a strong temporary loadout should not be confused with permanent class power.
This makes the class especially suitable for players who enjoy prepared progression: collect materials, convert them into useful gear, and avoid wasting bonds. It is less suitable for a player who wants the strongest immediate combat presence without spending time on resource management.
Dead Rails Miner Class vs Other Permanent Classes
Comparing classes is essential because the Dead Rails Miner class offers reliable utility, while some alternatives provide more dramatic battlefield effects. The Dead Rails vampire class, for example, moves faster and hits harder in melee, according to community field notes, but sunlight creates a serious vulnerability. The choice is therefore not simply “resource class versus damage class”; it is utility versus risk, preparation versus burst power, and solo play versus crew support.
The table below uses community-reported mechanics rather than invented tier rankings. Its practical distinction is that the Miner’s mining helmet, coal, and pickaxe provide flexible resource contribution and early-game gathering tools, but offer less dramatic direct combat pressure than the Vampire, Necromancer, or Doctor classes. For example, a Miner can prepare the crew with resources while staying outside the highest-risk encounters, whereas the Necromancer converts positioning and enemy selection into temporary allied fighters. Because balance can change after updates, players should verify current values in-game before committing bonds.
| Class | Reported specialty | Main advantage | Main drawback | Better choice when… |
|---|---|---|---|---|
| Miner | Mining helmet, coal, pickaxe | Flexible resource contribution | Less dramatic direct combat identity | You want useful early tools and steady gathering |
| Vampire | Faster movement, stronger melee | High movement and melee pressure | Sunlight causes damage | You can control exposure and prefer aggressive combat |
| Necromancer | Revives defeated enemies | Creates temporary allied fighters | Requires positioning and enemy selection | You want repeatable summons and crowd control |
| Doctor | Bandages, snake oil, teammate revival | Direct crew sustain | Consumes personal health for revives | Your crew often gets separated or fights hard |
| Horse-oriented class | Mount-related utility | Faster travel and mount synergy | Less useful without a horse | Exploration and route efficiency are priorities |
Vampire and Necromancer Alternatives
The Dead Rails vampire class can feel exciting because speed and stronger melee attacks create immediate pressure. Its weakness makes timing more important: direct sunlight turns the class into a poor fit for exposed routes unless the player can keep moving through covered or dangerous areas. Players pursuing Dead Rails vampire mastery should practice managing exposure rather than focusing only on damage.
By contrast, the Dead Rails necromancer class converts defeated enemies into temporary allies. The Dead Rails necromancer mastery route reportedly supports repeatable bond-farming loops, although that requires finding enemies worth reviving and keeping the summons alive. A Miner and a Necromancer can complement each other in a crew because one contributes materials while the other creates temporary combat pressure.
Horse and Doctor Comparisons
The Dead Rails horse class, or a mount-oriented alternative, favors travel efficiency. That benefit becomes much more valuable when the crew is covering long distances, carrying materials, or trying to return before a dangerous situation escalates. The horse mastery reference can help players evaluate mount-focused choices alongside the Miner.
A Doctor is also a strong crew comparison because bandages, snake oil, and revives directly preserve teammates. While a Miner gathers resources, the Doctor can keep a weakened player active. In practice, the best crew may include both because gathering without recovery can still end badly, while recovery without resources may leave the group under-equipped.
Dead Rails Miner Mastery: Practical Build Priorities
Dead rails miner mastery begins with a simple question: what will this class contribute during the run? Resource gathering is useful, but carrying too much, failing to protect teammates, or spending bonds on a temporary item that disappears at the end can erase that value. A strong Miner build therefore combines useful gathering with enough durability to keep moving.
The overall class mastery guide provides broader context for unlock planning, while this guide focuses on how to turn the Miner’s basic identity into a dependable role. In practice, that means treating mining as the Miner’s contribution to the team—not as permission to ignore bonding, loot, or route pressure. A reliable setup should still generate enough bonds to purchase useful gear, recover after a missed collectible, and avoid turning the Miner into a mule that slows the group down; otherwise, the class’s gather value is outweighed by its dead weight.
Resource and Equipment Plan
Start by identifying the nearest legitimate source of materials, then decide whether the route offers enough safety to collect them. Coal is a useful early addition according to community notes, but its real value depends on what the crew can craft or purchase. Miners should gather toward a goal rather than accumulating random materials without a plan.
| Priority | Miner action | Reason | Common mistake |
|---|---|---|---|
| First | Secure basic weapons and armor | Prevents a resource detour from becoming fatal | Gathering while enemies are closing in |
| Second | Collect coal and other needed materials | Supports crafting and spending decisions | Carrying materials without checking crew needs |
| Third | Share resource priorities | Prevents duplicated work in co-op | Every player mining the same deposit |
| Fourth | Monitor bonds | Preserves long-term class value | Treating temporary gear as permanent |
| Fifth | Keep an exit route open | Protects the value already collected | Tunneling into an unsafe area |
The best Dead Rails Miner class build keeps a resource-to-purpose ratio. A large pile of materials has little value if the crew cannot use it, while a modest load can be enough when it supports a useful upgrade. Before mining, check what the team lacks, then collect only what is likely to be converted into survival value.
Bond Spending Discipline
Bonds have two distinct roles in Dead Rails: they can unlock permanent classes, and they can be spent on run-specific equipment. The distinction is essential for a Miner because a player may spend aggressively on temporary gear while preventing the permanent unlock of a complementary class. A community-created Dead Rails classes overview can help compare permanent choices before spending.
A disciplined approach is to reserve enough for the next valuable class unlock, then spend the remainder on immediate gear that prevents a likely failure. This is especially relevant for a Miner, since the class’s identity can encourage resource collection; a strong player also watches the larger class-unlock economy instead of treating every available bond as instant spending money.
Running the Dead Rails Miner Class in Solo and Co-op
The Dead Rails Miner class behaves differently depending on the number of players. Solo runs demand faster decisions, careful retreat planning, and enough damage to discourage pursuing enemies. Co-op runs allow specialization, but they also require communication so that gathering does not leave the team unable to fight.
Community field notes suggest that solo players usually value self-sustain and escape tools, while crews benefit from a Doctor and a dedicated damage option. That makes the Miner strongest in co-op when the class can focus on gathering without being the crew’s only source of combat pressure.
Solo Run Decisions
In solo play, the Miner should avoid prolonged mining whenever a threat has already noticed the player. Gather while the route is calm, then move to a safer location before spending time on equipment management. A small amount of useful material is better than losing the run with a full inventory.
| Solo situation | Recommended decision | Reason |
|---|---|---|
| Calm route with a nearby deposit | Gather a limited amount | Convert idle travel into resources |
| Enemy visible during gathering | Retreat or finish quickly | Mining animation increases vulnerability |
| Crew is absent | Favor defense and escape | No teammate can cover a dangerous detour |
| Material no longer needed | Continue toward the objective | Carry weight and time can create risk |
| Strong hostile area | Delay mining | Survival has more value than resources |
Co-op Run Roles
In co-op, assign a clear resource target before entering a mining area. One player can watch for threats while another gathers, and a third can prepare equipment. If the crew cannot communicate, a Miner may accidentally become the least useful member by standing apart from every fight.
The strongest arrangement often pairs resource collection with clear support functions, because the Miner’s value depends on what the crew can safely accomplish while it is occupied. For example, a Miner can focus on collecting assigned scrap and preparing upgrades, while a Doctor handles bandages, snake oil, and revives, and a Vampire draws enemy attention. This division lets the crew protect the Miner without sacrificing every objective to damage output, making each class’s contribution more reliable.
-
Miner: gathers assigned materials and prepares practical upgrades.
-
Doctor: preserves teammates through bandages, snake oil, and revives.
-
Vampire or another damage option: pressures enemies and protects the Miner.
-
Necromancer: controls groups while the crew completes objectives.
This lineup can outperform four players who all chase damage, especially when the crew’s objective is to extract scrap rather than win a prolonged fight. A Miner can keep gathering assigned materials while a Vampire pressures enemies and a Doctor supplies bandages, snake oil, and revives; a Necromancer can control groups during extraction. The class unlock reference also explains progression choices that determine when complementary roles, including Vampire and Necromancer, become available for the crew.
When to Choose the Miner Instead of a Power Class
The Dead Rails Miner class should be chosen when reliable resources and economical early performance matter more than instant burst damage. It is particularly good for cooperative players who can coordinate roles, new players who want a practical starting kit, and anyone who enjoys converting route time into material value.
It is less attractive when a run demands immediate combat pressure, difficult escape routes are expected, or the player refuses to spend time managing a loadout. The class can still survive those conditions, but it will require more careful preparation than a class built around speed, revivals, or temporary summons.
| Player goal | Recommended choice | Why |
|---|---|---|
| Build a first class roster | Miner | Its reported 15-bond cost is accessible |
| Gather and craft efficiently | Miner | Mining tools support the entire approach |
| Keep a teammate alive | Doctor | Revival directly restores crew utility |
| Fight aggressively in darkness | Vampire | Reported speed and melee strength suit controlled exposure |
| Manage enemy crowds | Necromancer | Revived enemies become temporary allies |
| Travel across long routes | Horse-focused class | Mount utility improves route efficiency |
| Balance gathering with combat | Small co-op crew | Roles can cover mining, damage, and recovery |
The decision should be made before the lobby locks, because community reports describe classes as permanent lobby unlocks. Once selected, the Miner becomes part of that roster rather than a temporary profession switch. Compare the long-term value of a reliable specialist against a more dramatic class instead of choosing only for the first few minutes.
A Practical Decision Checklist
Before locking the Miner, ask whether the player can answer several operational questions about the mining loop: can they locate a reliable ore node, harvest it before the rail route shifts, and convert the raw materials into useful ammunition or crafting inputs? A Miner who understands those timing and resource decisions contributes more than a thematic reskin; they can supply the crew without becoming a liability when enemies interrupt the gathering process.
-
Is there a useful way to convert gathered materials into immediate survival value?
-
Can the player protect the gathering process without depending on an inactive teammate?
-
Does the route expose the player to constant enemies, making resource work impractical?
-
Is there enough bonding economy left to unlock a complementary class later?
-
Would the player enjoy inventory decisions, or would a more aggressive kit produce a better experience?
If the answers are positive, the Miner is more than a novelty theme: it is a dependable early contribution with clear value in a coordinated crew. For example, a player who repeatedly mines ore nodes and carries the haul back to the rail route can keep the crew supplied with ammunition and crafting inputs while the Horse class handles movement and the Vampire or Necromancer cover more specialized roles. That division of labor makes the Miner’s gathering, resource conversion, and route timing more useful than simply adding another combatant to the train.
Miner Class Sequencing for Advanced Runs
Advanced Miner play comes down to sequencing. Gather when the environment is safe, fight when survival demands it, and spend resources on the problems most likely to end the run. The community gameplay reference linked below provides a visual walkthrough of class equipment, including the Miner’s reported starting items.
Use the Dead Rails miner class gameplay video to identify the Miner’s reported starting equipment, then test a route that preserves both weapon options and mining supplies for the first encounter. In practical terms, this lets you compare whether the pickaxe handles an early resource obstacle or whether a weapon is needed to clear a hostile route, rather than spending the entire loadout before a combat check. The footage is especially useful for confirming visual loadout details that may be difficult to read from class descriptions alone.
Timing Gathered Resources
The most common failure is treating a mining opportunity as free because no enemy is attacking at that exact moment. Better players watch the surrounding space, collect only a useful amount, and keep an escape option. This turns the pickaxe into a tool for controlled gains instead of a reason to stop moving.
| Resource timing | Good decision | Poor decision |
|---|---|---|
| Deposit appears during a safe window | Gather a measured amount and leave | Mine until the area is exhausted |
| Threats are audible but distant | Secure the nearest needed material | Chase every nearby deposit |
| Crew is preparing to move | Finish the current task quickly | Begin another extended gathering job |
| Inventory is already valuable | Prioritize objectives and exits | Hoard low-value materials |
| A superior route opens | Reassess what the crew still needs | Continue collecting the first resource found |
Combining Resource Value With Class Value
A Miner’s first output is usually material, but the second output should be better positioning. Each successful gathering stop can identify a safer path, confirm a dangerous area, or provide enough value to make a strategic retreat. Experienced players treat resources as a reason to plan, not as a reason to tunnel deeper without information.
This principle also explains why Dead Rails miner mastery is more practical than a simple item checklist. The class works when its tools support a route, an upgrade, or a crew decision. If gathering does not improve one of those areas, the opportunity cost may outweigh the material itself.
Frequently Asked Questions
Is the Dead Rails Miner class worth unlocking for a new player?
Yes, especially for a new player building a first roster. Community reports place its unlock at 15 bonds and list a mining helmet, coal, and a pickaxe as starting equipment. Its main appeal is practical: the kit supports resource collection, early crafting, and crew preparation without requiring an expensive specialty. The exact price and equipment should still be checked in the current lobby before purchase.
How does the Miner compare with the Dead Rails vampire class?
The Miner contributes through gathering and flexible preparation, while the Dead rails vampire class is reported to offer faster movement and stronger melee attacks. That makes the Miner steadier but less aggressive, whereas the Vampire can punish nearby enemies at the cost of sunlight vulnerability. A mining-focused crew may prefer the Miner, but a crew that needs immediate damage often benefits from the Vampire.
Is the Dead rails necromancer class better for gathering crews?
Neither class replaces the other. The Dead rails necromancer class revives defeated enemies to create temporary allies, while the Miner gathers materials. Necromancer mastery can support repeatable bond farming through controlled summons, but it also demands positioning and target selection. A crew can gain more from combining these functions than from insisting one class perform both roles.
Should a solo player use the Dead Rails horse class instead of the Miner?
That depends on the route. The Dead rails horse class favors travel efficiency, so it can be valuable when long distances dominate the run. The Miner is stronger when the route offers worthwhile resources and the player can collect them safely. Solo players also need self-sustain and escape options, so a mount may improve mobility without solving every combat and resource decision.
What is the most important Dead rails miner mastery principle?
The most important principle is to assign purpose to every gathering trip. Collect a defined amount, protect the crew, and use the materials for a practical upgrade or route decision. Hoarding without a plan increases risk and slows the run. Good Miner play also preserves bonds for future permanent class unlocks instead of spending every available bond on temporary run gear.