
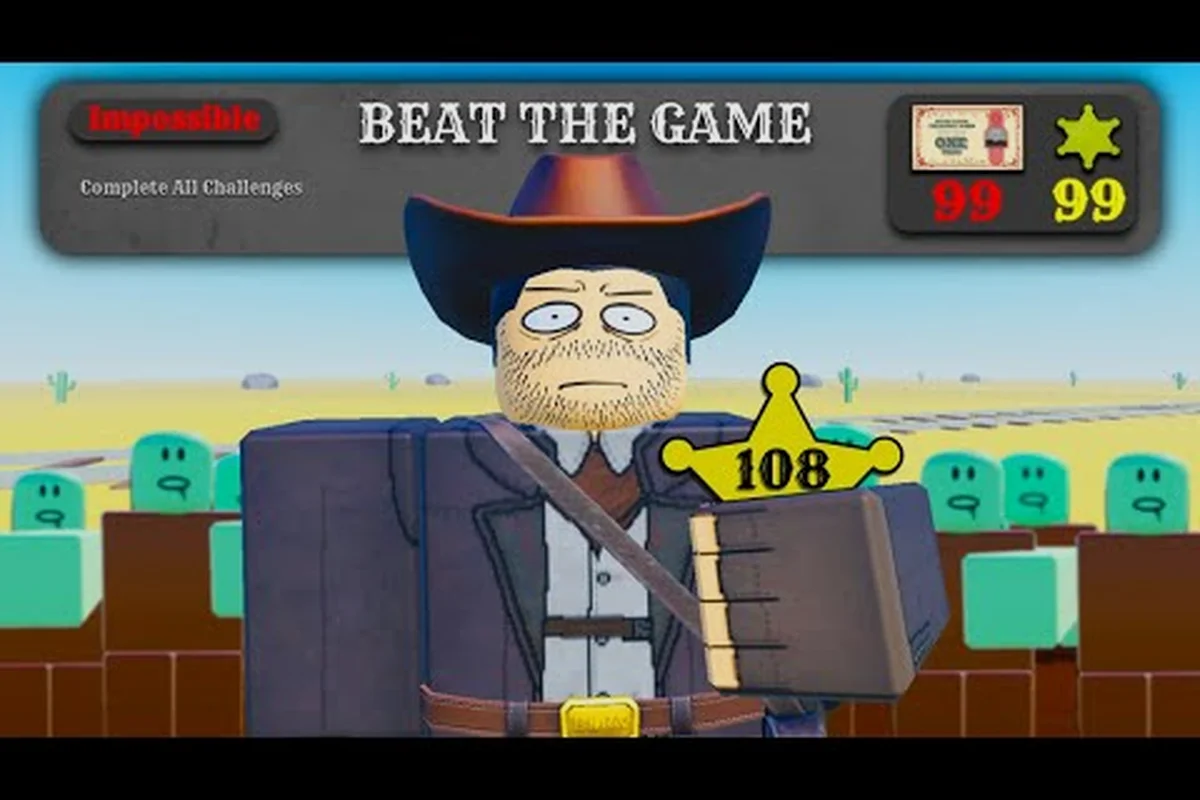
Dead rails challenges turn ordinary train runs into precise tests of route planning, restraint, and survival. Knowing each goal, reward, and failure condition helps you choose a strategy that fits your squad instead of treating every contract like a standard escape.
Challenge objectives arrived alongside the March 2025 Nightmare update, but the rules available to your server can change as the game receives patches. Player reports also disagree on some reward details, so confirm the current challenge board before committing to a long run.
What Dead Rails Challenges Actually Test
The central challenge system gives each run a special condition that changes how success is measured. Some tasks reward reaching the finish, while others demand restraint, rapid travel, or the defeat of a specific target. That difference matters because a dependable combat build may work well for one contract and fail another.
The reported challenge pool includes Escape, Pacifist, Unkillable, Pony Express, Bounty Hunter, and several monster-related tasks. Community field notes also mention Werewolf Hunter, Zombie Hunter, and Tame a Unicorn, although availability may depend on the current build or event rotation. The game’s official badge list includes a Tame a Unicorn badge, which supports that this objective exists even when it is missing from the current board.
| Challenge type | Main goal | Best starting priority | Common failure |
|---|---|---|---|
| Escape | Reach the far end of the route | Rail progression and supplies | Losing the train to damage or derailment |
| Pacifist | Finish while avoiding hostile kills | Route knowledge and crowd control | Letting the team eliminate enemies |
| Unkillable | Survive despite dangerous conditions | Healing and defensive positioning | Allowing repeated damage to overwhelm the train |
| Pony Express | Move rapidly along the route | Fast repairs and efficient upgrades | Getting delayed by a broken or lagging train |
| Bounty Hunter | Eliminate a designated target | Weapon choice and target tracking | Losing the target or wasting ammunition |
This breakdown is based on community reports and the challenge names shown during the update, not a fixed promise that every server offers the same contract. Availability can shift with the current Dead Rails build or event rotation, and the Escape, Pacifist, Unkillable, Pony Express, and Bounty Hunter objectives may use different success conditions across sessions. Community references to Werewolf Hunter, Zombie Hunter, and Tame a Unicorn also suggest extra or rotating challenges rather than a permanent full list, and the official badge list confirms the unicorn entry while the hunter contracts remain community-reported. The exact wording displayed on the board remains the final authority.
Read the Contract Before Choosing a Build
Challenge selection should come before class selection. A weapon-focused character can struggle with a pacifist condition, while a support build may carry a Bounty Hunter run but lack the damage needed for a fast clear. Read every phrase rather than relying only on the short title, because requirements such as eliminating a named enemy, avoiding particular actions, or reaching a distant station can turn an ordinary route into a different game.
A useful planning order is to translate each challenge card into a constraint set, then test whether the squad can sustain that plan across the entire route. For example, an unkillable challenge may require damaging specific targets without killing them, making weapon selection and crowd control more important than raw damage. A Pony Express objective can depend on reaching distant stops within the route’s time limit, so locomotive upgrades, fuel management, and safe travel become the priority. By comparing the challenge’s restriction with the available upgrade paths before the first departure, players can avoid committing early resources to upgrades that solve the wrong problem.
-
Identify the exact win condition shown on the challenge card.
-
Mark which enemies must be spared, killed, or avoided.
-
Estimate the intended route length and available resources.
-
Choose upgrades that support the condition rather than general power.
-
Assign each squad member a role before the first stop.
This approach also reduces wasted bond spending, because each upgrade should be bought against a specific challenge condition rather than general power. A player who buys a powerful attack upgrade for a nonviolent run may arrive at the finale without a useful healing supply, repair tool, or crowd-control option, then face a route where Pony Express travel demands a working locomotive, an unkillable objective demands nonlethal control, or a Bounty Hunter contract demands a precise kill while avoiding forbidden actions. Reserving at least one support-focused purchase is often more valuable than stacking another damage multiplier.
Escape and Pacifist Challenge Routes
The dead rails escape challenge focuses on completing the journey, so efficient rail progression and dependable resource management are the central concerns. A strong team should repair damaged sections quickly, keep enemies from surrounding the train, and avoid unnecessary stops. A route-planning guide for every available ending in Dead Rails can help you connect your final destination with the equipment needed to reach it reliably.
The dead rails pacifist challenge is stricter because ordinary combat instincts can disqualify a run. Players must clarify whether passive creatures, hostile bandits, and objective enemies all count toward the same restriction. Community reports suggest that the restriction centers on avoiding kills, but they do not consistently describe every exception, so do not experiment with essential enemies until the current card has been interpreted carefully.
| Route consideration | Escape objective | Pacifist objective |
|---|---|---|
| Main resource | Distance and completion | Distance without offensive kills |
| Combat | Fight when necessary | Avoid attacks unless explicitly allowed |
| Best upgrade priority | Repair, speed, and defense | Healing, crowd control, and escape tools |
| Main risk | Damage accumulation | Accidental or unnecessary elimination |
| Team focus | Fast, coordinated defense | Clear roles and restrained targeting |
Practical Preparation for Both Contracts
Before departing, inspect the train and choose a balanced loadout. Repair capacity helps with escape routes, while healing capacity becomes more valuable when enemies must be evaded rather than defeated. Crowd control is particularly useful for pacifist runs because it can create distance without producing the kill that breaks the condition.
During the run, stop fighting at the first safe opportunity. Let the train move while your team clears space, then regroup instead of chasing enemies down the tracks. This approach preserves ammunition and prevents stragglers from being isolated. It also helps when an enemy becomes attached to the train near a difficult obstacle.
For escape attempts, maintain a simple rule: repair first, clear second, and explore only when the contract permits it. A reliable engine and intact cars matter more than a rare item found in a distant building. If a route becomes unstable, restore mobility before chasing rewards.
Unkillable and Pony Express Survival Tests
The dead rails unkillable challenge places survival pressure at the center of the run. According to community descriptions, surviving the condition is the defining requirement, so a single reckless collision or overwhelming enemy wave can erase an otherwise successful journey. The most dependable strategy is to keep potential damage sources away from the train while maintaining emergency recovery options.
In contrast, the dead rails pony express challenge rewards speed. A broken rail, damaged engine, or poorly managed enemy encounter can erase the time advantage you worked to build. The best approach is to establish a maintenance order: identify the immediate failure, repair the train, and continue moving. A shorter route is useful, but an unreliable train turns speed into wasted effort.
| Challenge | Primary pressure | Preparation focus | Strong recovery action |
|---|---|---|---|
| Unkillable | Repeated damage and survival | Healing, repair, defensive positioning | Emergency heal and crowd control |
| Pony Express | Delays and train reliability | Fast repairs, mobility, efficient stops | Quick repair while the train is moving safely |
Handle the Engine as a Living Character
Both survival-oriented contracts reward treating the train as a character with health, speed, and resource needs. Watch for warning indicators, listen for changes in movement, and prepare repair supplies before a problem becomes critical. Fast repair is especially valuable in a Pony Express run, while a minor leak or damaged component can become dangerous under the Unkillable condition.
Squad positioning also changes with the contract. During Unkillable, keep threats on the side where the train has more space and avoid fighting in a confined area. During Pony Express, assign one player to monitor the route and another to watch enemies so that the team can respond without stopping the entire train.
Do not overcommit to a single strategy. Enemy composition, random events, and available upgrades can vary between runs, so keep one secondary option ready. A player carrying both defensive and mobility tools can respond when a fast route becomes dangerous or when a passive strategy no longer has enough room to work.
Bounty Hunter and Monster Contract Objectives
The dead rails bounty hunter challenge centers on locating and eliminating a designated target. This makes target identification more important than simply finding the strongest enemy. Players can waste time attacking the wrong threat, consume ammunition on lesser enemies, and allow the actual target to escape or blend into a larger group.
Before starting, identify the target through the board or mission interface. Then determine where that target can appear and which squad member will track it. A focused hunter may travel with the group, while another player protects the train and handles ordinary threats. Divide the responsibility so the target does not disappear inside a general defense effort.
| Target category | Tracking priority | Equipment tendency | Common mistake |
|---|---|---|---|
| Named bounty target | Very high | Reliable damage and medium range | Attacking unidentified enemies first |
| Werewolf | High | Fast handling and good aim | Letting it isolate a teammate |
| Zombie | High | Crowd control and steady damage | Fighting in a narrow area |
| Unicorn (Tame a Unicorn) | Medium | Taming support | Treating it like a normal hostile |
| Generic target | Medium | Flexible weapon choice | Losing sight of the mission |
Community reports list Werewolf Hunter, Zombie Hunter, and Tame a Unicorn among the available challenge concepts, but the exact rule for each remains less consistent than the main Escape and Pacifist requirements. The werewolf and zombie hunter challenge guide provides a focused reference for those monster contracts, while in-game instructions should still control if the wording differs.
Avoid the Common Bounty Hunter Trap
The biggest mistake is treating the target like ordinary scenery. Enemies can blend into crowds, retreat from the train, or force the group to choose between pursuit and protection. Assign one tracker, but avoid splitting the entire team away from the train. A failed capture because the train was destroyed still counts as a failed objective.
Damage choice matters as well. If the target is a specific monster, a weapon that clears weak enemies quickly may actually be less useful than one that can handle the target reliably. Use spare attacks to control the path, but preserve the strongest opening for the designated objective. This approach is especially useful in the dead rails all challenges category because target-focused contracts reward precision instead of indiscriminate speed.
Nightmare Modes and Reward Planning
The Nightmare update introduced the challenge board, and community reports also describe Nightmare Mode, Scorched Earth, and Bite Sized as related game modes. Nightmare Mode reportedly increases spawn pressure and reduces resource comfort while offering more bonds for a completed run. Scorched Earth is described as a harsh desert variant, and Bite Sized is a shortened format used by players focused on faster runs and bond farming.
These modes should be treated as distinct from the challenge cards. A challenge defines an objective, while a mode can change the map, duration, spawn rules, or difficulty. If both appear together, the challenge contract should still be treated as the central win condition.
| Mode or format | Reported feature | Player benefit | Best use |
|---|---|---|---|
| Nightmare Mode | Harder spawns and tighter resources | Higher bond payout reported for completion | Teams ready for stronger pressure |
| Scorched Earth | Brutal desert variant | A distinct harsh environment and badge-level clear reported | Experienced groups seeking a harder clear |
| Bite Sized | Shortened run | Faster bond farming and speedrun practice | Rapid retries and loadout testing |
| Challenge board | Special contract conditions | Goal variety and additional objectives | Completing a run with a defined restriction |
Community observations about these modes may lag behind October 2026 patches. Confirm the current mode description, reward, and clear conditions in-game. A Dead Rails challenges gameplay video can provide a visual reference, but it should not override newer build information.
Match the Run to Your Available Time
Short formats are useful when testing a new class or a revised build. Complete a few Bite Sized runs, record where damage came from, and determine whether your team can cover different lanes without wasting resources. When switching to a full Nightmare run, retain the same priorities: clear roles, fast repairs, and an early decision about which enemies require attention.
Reward planning should follow risk, not excitement. A difficult run that offers more reported bonds can still produce less income if the team repeatedly fails. Calculate the time spent per successful completion, including failed attempts and travel between runs. The best farm is not always the hardest one; it is the challenge your team can clear consistently.
For a broader view of seasonal and asymmetrical modes, compare the Edison’s Revenge and Invasion mode guide with the standard challenge board. Seasonal modes may add distinct boss pressure or asymmetrical objectives, but they do not replace the need to understand the current challenge card.
A Repeatable Plan for Every Challenge
Successful challenge runs begin with a clear decision about the objective, the route, and each player’s responsibilities. The squad should know what must happen before it reacts to the first encounter. This prevents a group from making incompatible choices, such as one player racing ahead for a target while another prepares a pacifist route that requires everyone to stay together.
Before the squad commits to a route, it should translate the objective into measurable checkpoints—such as delivering a Pony Express payload, keeping the group alive for an unkillable challenge, or completing an escape run without triggering a prohibited encounter. This matters because Dead Rails contracts can fail through contradictory demands even when the train reaches the destination: splitting up may protect one player but sacrifice a shared condition, while remaining together can cause a pursuit or route hazard to damage the entire party.
-
Read the full challenge description and identify every explicit prohibition or requirement.
-
Check the route and mode for additional restrictions before leaving the starting area.
-
Assign damage, support, and scouting roles based on the contract.
-
Purchase upgrades with a clear purpose, avoiding general power that does not help the objective.
-
Test the formation during the first encounter and make one quick correction if needed.
-
Preserve resources for the final stretch, because late-route damage can invalidate an otherwise clean run.
-
Record the result, including the exact cause of failure, so the next run can be adjusted rather than repeated.
What to Record After a Failed Attempt
A failure is useful when it produces a specific correction. “The run was bad” does not tell the team what to change, while “the passenger car lost health during the second enemy wave because nobody covered the rear platform” identifies a clear tactical problem.
| Failure observation | Likely correction |
|---|---|
| Train lost speed before the first major fight | Carry more repair capacity and service the engine earlier |
| A teammate killed the wrong enemy | Restrict attack targets and use explicit callouts |
| Target escaped during a crowd | Assign a dedicated tracker and shorten fights |
| Healing ran out late | Carry additional healing or reduce unnecessary damage |
| Team separated at a stop | Set a reunion point and assign a rear guard |
Keep the entry brief, but make it actionable: record the contract and route, then identify the decisive failure and one correction for the next attempt. For example, if a train entered an ambush without repairing its engine, note the missing early repair instead of labeling the entire escape challenge as difficult. Over several attempts, these notes reveal which dead rails challenge fits your team’s habits, whether the loadout needs better repair capacity or healing, and which role assignments should change.
Frequently Asked Questions
What is the easiest Dead Rails challenge for beginners?
The Escape challenge is generally the most approachable because its main goal is completing the route, according to community reports. It still requires sensible resource management, but it gives beginners more freedom than Pacifist or Unkillable conditions. Start with a reliable train loadout and avoid unnecessary combat.
Can players complete Dead Rails challenges in groups?
Yes, co-op works well because squads can divide repair, protection, and objective-tracking duties. The important part is establishing roles before the first attack. One player should protect the train while another tracks a bounty target, even if both players still contribute to the broader escape.
Does the Pacifist challenge forbid every type of attack?
Community descriptions indicate that avoiding kills is central, but the exact card should be treated as the authority. Some conditions may distinguish essential enemies from optional ones. Read the wording carefully and avoid testing an unclear rule on a target required for survival.
Which weapon works best for the Bounty Hunter challenge?
The best choice is the weapon your team can use most reliably against the designated target, rather than the one with the highest nominal damage. Bring a secondary option for ordinary enemies and preserve ammunition for the bounty. Accurate identification matters more than an impressive damage number.
Are Nightmare challenge rewards permanent after one clear?
No permanent reward should be assumed from a community report. The update and subsequent patches may change payouts or availability. Check the current challenge board and mode summary after major updates, and treat recorded rewards as historical unless the live interface confirms them again.