
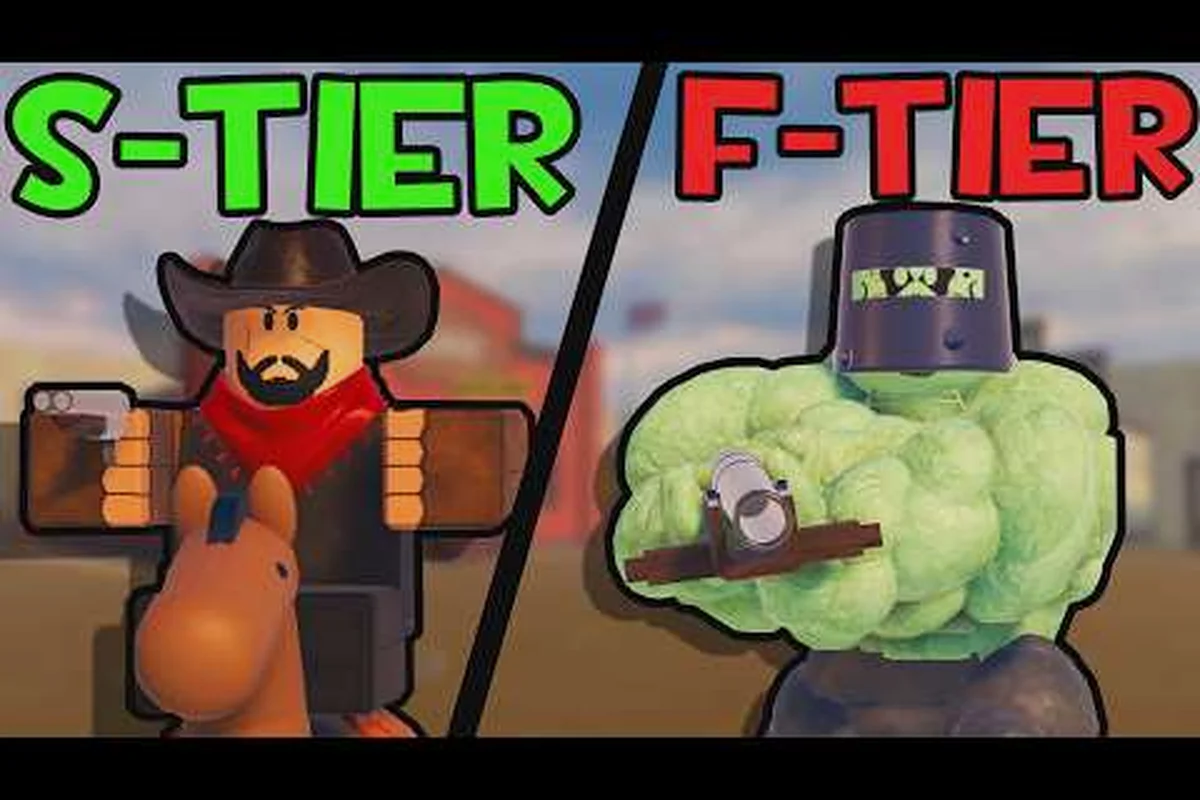
Dead Rails enemies can turn a routine train run into a desperate night battle, especially when fast zombies, vampires, or Werewolves appear. Knowing their spawn windows, strengths, and counters helps you survive the dangerous hours and claim valuable boss rewards.
Dead Rails Enemies Overview
Understanding Dead Rails enemies starts with recognizing the time, moon, and location conditions that influence each threat. Most common hostiles begin appearing around 11 PM and stop around 5 AM, so a planned route through the desert can become much harder once darkness falls. A clear full moon, a blood moon, or a special location can add enemies that do not appear during ordinary nighttime travel.
Community field notes provide useful but imperfect numbers. According to player reports, Fast Zombies are fragile yet quick, Vampires have more than 150 health and can teleport behind their targets, and Werewolves may have roughly 300–500 health. Treat those figures as community estimates rather than an official stat sheet, because patches can change balance.
| Threat | Main danger | Best information available |
|---|---|---|
| Basic zombie | Slow but arrives in numbers | Common nighttime hostile |
| Fast zombie | Can outrun a walking player | Appears during cloudy full moons |
| Vampire | Teleports behind players | Blood moons and the Castle |
| Werewolf | High health and heavy damage | Clear full moons and the Castle |
| Outlaw | Uses a firearm | Carries a Mauser, rifle, or sawn-off |
| Boss enemy | Extensive health or special mechanics | Rewards depend on the encounter |
This overview matters because the best response depends on the specific opponent. A horde that can be slowed and shot from range behaves differently from a Werewolf that requires focused damage or a special item. If you are still building your roster, the Dead Rails class unlock guide can help you prepare suitable character options before a difficult night run.
Dead Rails Zombie Types and Spawn Rules
The regular Dead Rails zombie is inexpensive to deal with when the carriage is fortified, because its main pressure comes from numbers rather than a single devastating hit. The more important distinction is the Dead Rails fast zombie, which appears under specific moon conditions and can overtake a player who is only walking. A slower route does not remain safe simply because your train is moving; the ability to chase and pressure runners makes distance management important.
Standard zombies and fast zombies
Standard zombies become relevant when you allow the night to dictate your schedule. Hostile activity reportedly begins around 11 PM, while the usual danger period ends near 5 AM. That leaves a six-hour window in which camping, repairing, or searching can attract groups. Because the desert offers little natural cover, stopping near a fort or a defensible carriage is generally safer than fighting in the open.
| Zombie type | Reported spawn condition | Behavior | Practical counter |
|---|---|---|---|
| Standard zombie | General nighttime activity | Relatively slow, dangerous in groups | Area damage, barriers, quick reloads |
| Fast zombie | Cloudy full moon | Runs down a walking player | High mobility, a shotgun, or a defensive position |
| Specialized zombie | Certain unlocks or later threats | May carry equipment or altered behavior | Match the weapon to the target |
The Dead Rails zombie types can also vary beyond the basic and fast versions. Specialized enemies may include armed, armored, miner, scientist, or banker variants according to progression data. Their equipment and behavior matter more than their names: a regular zombie may be easy to dispatch, while an armed or armored version can punish a player who relies on one weak shot. The Ironclad Zombie enemy guide examines that armored threat in greater detail.
Blood moons and special locations
A blood moon changes the danger profile by introducing vampires, including enemies that can reposition behind the player instead of walking directly into incoming fire. This makes rear-facing threats important. If you fight beside a carriage, check both sides before reloading, because a hostile that appears behind you may otherwise damage the train while you face the more obvious group.
Location-based conditions matter too. The Castle is associated with vampires and Werewolves, making it particularly unsuitable for a lightly equipped train. A full moon under clear skies also creates a stronger Werewolf risk, while cloudy full moons are associated with fast zombies. These distinctions can be used deliberately: if the route allows it, arriving at a destination before moon conditions peak gives the crew more control over the engagement.
| Condition | Additional threat | Planning advice |
|---|---|---|
| Standard night | Zombies and other common hostiles | Finish repairs before 11 PM when possible |
| Cloudy full moon | Fast zombies | Pack mobility or crowd-control tools |
| Blood moon | Vampires | Watch for attacks from behind |
| Clear full moon | Werewolves | Avoid isolated encounters and low-health fights |
| Castle approach | Vampires and Werewolves | Arrive prepared or take an alternate route |
Boss Health and Spawn Details Across Encounters
The Dead Rails bosses are more than larger versions of ordinary enemies. Each encounter adds a location, reward, or survival test, so preparation matters more than raw firepower alone. Community reports identify Captain Prescott near Fort Constitution, Nikola Tesla at the Tesla Lab, and Edison Prime as the final boss in Edison's Revenge. More details about the final encounter appear in the Edison boss encounter guide.
Captain Prescott
Captain Prescott guards Fort Constitution at roughly the 60 km point. According to community data, defeating him grants the Supply Depot Key and a bounty of about $150. That reward makes the fight worthwhile for players who need access to supply-related content, although the exact value can vary with the current version.
The safest approach is to establish a firing position before the boss reaches the fort entrance. Since the area is associated with a fixed encounter, players can prepare ammunition and healing before approaching instead of trying to gather resources during the attack. This makes Captain Prescott more predictable than wandering enemies whose appearance may depend on the clock and moon.
Nikola Tesla
Nikola Tesla is described as a roughly 5,800-health encounter assembled at the Tesla Lab and fought near the 80 km Outlaw Fort. That health figure comes from community reporting and should be treated as an estimate, especially because later patches may adjust the encounter. The practical lesson is to expect a sustained boss fight rather than a short burst.
| Boss | Reported location or trigger | Reported reward or role | Preparation focus |
|---|---|---|---|
| Captain Prescott | Fort Constitution, around 60 km | Supply Depot Key and about $150 | Reliable damage and fort positioning |
| Nikola Tesla | Tesla Lab; fight near 80 km Outlaw Fort | Major story encounter with very high health | Ammunition, reload timing, cover |
| Edison Prime | Final boss of Edison's Revenge | Endgame objective | Full loadout and team coordination |
Edison Prime
Edison Prime is identified as the final boss of Edison's Revenge. Unlike the other named encounters, the available field notes do not provide a reliable health total, so assigning one would be misleading. Players should approach this fight as the climax of the current route and assume that preparation errors are harder to recover from than they are during a standard zombie wave.
Before attempting a difficult Dead Rails boss fight, test the carriage’s weapon range, confirm that healing supplies are accessible, and decide where the crew will retreat. Bosses can draw more attention than the boss itself, particularly if the battle takes place near another spawn area. A fixed location offers one advantage: the player can plan for the encounter rather than waiting for it to occur.
Effective Boss Counters for Dead Rails Bosses
A successful Dead Rails boss fight depends on positioning, ammunition, and target selection rather than one oversized weapon. First, determine whether the boss has a specific weak point or scripted phase. Second, keep a route for retreat, because stopping in an exposed area often creates a second problem when regular enemies begin to gather. Third, separate the boss from smaller threats whenever possible.
Prepare the loadout
Community footage and field reports emphasize that carrying the wrong ammunition can ruin an otherwise effective setup. A Mauser, rifle, or sawn-off carried by an outlaw is more dangerous at medium or long range than a basic zombie, so a close-range approach should not be treated as universally safe. The linked Dead Rails enemies gameplay video can provide a visual reference for these encounters, although current patch behavior should still be confirmed in play.
A practical preparation checklist includes:
-
Bring enough ammunition for the expected duration, then add a margin for missed shots.
-
Carry both close-range and longer-range options when the route includes forts or open terrain.
-
Keep healing accessible without requiring the player to abandon a useful firing position.
-
Identify safe zones around the destination before committing to the fight.
-
Use barriers and the carriage to reduce the number of angles from which enemies can approach.
Keep the boss fight controlled
Do not spend every available shot on a regular zombie when the real objective is standing nearby. A carefully placed area attack can remove smaller enemies, but the player should still preserve enough damage for the boss after the area becomes clear. If the boss has enormous health, the main mistake is often poor resource management rather than inadequate damage per shot.
| Combat problem | What makes it worse | Better response |
|---|---|---|
| Overlapping targets | Regular enemies distract attention from the boss | Clear the nearest threats, then focus the boss |
| Open battlefield | Retreat routes disappear in the desert | Use a fort, carriage position, or other cover |
| Poor reload timing | The boss and adds attack during the vulnerable window | Reload behind usable cover |
| Wasted healing | Resources are spent before the final phase | Recover only when danger is under control |
| Ignoring spawn rules | A new special enemy arrives during the boss | Check the clock and moon before arriving |
The Dead Rails all bosses list rewards preparation across several different encounters, but the same broad principles apply. Fixed-location bosses reward scouting, while moon-driven enemies reward timing. If a route includes the Castle, expect vampires and Werewolves, and if it passes a full moon, preserve ammunition for the special enemy that may replace a routine wave.
Night Survival Tactics for Hostile Encounters
The best way to survive Dead Rails enemies is to prevent several threats from arriving at once. Hostile activity begins around 11 PM, so repairs, looting, and route decisions should generally be completed before then. A train that stops after midnight becomes both a target and a potential trap, particularly when a fast zombie can pressure players away from the carriage.
Control space before the swarm arrives
A fortified carriage is more useful when it creates a predictable firing funnel. Position the crew so that the player does not have to chase enemies around the train. If a fast zombie reaches the carriage, it can pull a player away from a protected angle and expose the train to additional damage.
Useful preparation includes:
-
Completing repairs before the nighttime danger window.
-
Keeping one route of escape open from every planned stopping point.
-
Using barriers to create a single approach rather than fighting on all sides.
-
Bringing a weapon that can quickly remove fragile fast zombies.
-
Watching the clock during repairs because a seemingly short task can continue after midnight.
Handle vampires and Werewolves differently
Vampires reportedly have 150+ health and can teleport behind players. They are therefore a poor target for a player who spins around only after taking damage. Listen for movement, watch reflections or nearby movement when possible, and use a crosshair discipline that keeps the rear threat from becoming a free hit.
Werewolves have a reported health range of 300–500 and can deal 40–60 damage on a clear full moon or in the Castle. A Crucifix deletes them, according to community field notes, which makes one such item a valuable emergency resource. Without a Crucifix, players should avoid close-range exchanges, maintain distance, and focus enough damage to finish the encounter before it closes the distance.
| Enemy | Key mechanic | Immediate response |
|---|---|---|
| Fast zombie | High movement speed | Slow it, shoot it, or use crowd control |
| Vampire | Rear positioning and teleport | Check the rear before reloading |
| Werewolf | High health, heavy hits | Keep distance; use a Crucifix if available |
| Outlaw | Firearm at range | Break line of sight and close the gap |
| Basic zombie | Group pressure | Area damage and defensive positioning |
This comparison turns Dead Rails fast zombie encounters from unpredictable disasters into manageable threats. Speed matters most when the player is alone in the desert, so a group that stays close to the carriage can reduce the need to outrun anything. The community video reference is useful for seeing general behavior, but the current game version remains the final authority on whether a specific spawn or attack changed.
Rewards, Loot, and Priority Targets
Some enemies are dangerous because of their attacks; others are valuable because of what they leave behind. The priority depends on your route, your available resources, and whether you are collecting money, keys, or class progress. Understanding these incentives prevents the mistake of spending ammunition on a low-value target while ignoring a nearby reward.
Outlaws are one example. Community data places their health at about 100, and they may carry a Mauser, rifle, or sawn-off. They can also be turned in at the Sheriff for roughly $35. Because a firearm can interrupt a close-range strategy, a profitable outlaw may still be more dangerous than its health value suggests.
| Enemy or boss | Possible value | Decision guidance |
|---|---|---|
| Outlaw | Roughly $35 at the Sheriff | Engage when the reward justifies the risk |
| Captain Prescott | Supply Depot Key and about $150 | Prioritize for progression and supply access |
| Werewolf | No reliable universal loot value listed | Fight defensively because of high damage |
| Zombie | No fixed universal reward listed | Prioritize when it threatens the carriage |
| Tesla | Major story encounter | Prepare for a long fight rather than a quick kill |
A player who lacks a reliable firearm may value the sheriff system more than a player with excellent weapons. Similarly, a new run may need the Supply Depot Key more than additional cash, which makes Captain Prescott the higher-priority boss. The saw-off gamepass and bond progression guide can help players evaluate whether a stronger weapon is the better progression choice before entering a difficult fight.
Turn threats into rewards
Turning an enemy in does not require leaving the train completely unprotected. A quick stop near the Sheriff can be valuable when the train is already secured, but it is risky if regular hostiles are gathering. Check the hour and moon before stopping, and avoid turning in an outlaw when a fast zombie or vampire would create a crossfire around the carriage.
The same logic applies to boss loot. A visible reward may justify spending time at a known location, but a boss encounter can also attract other enemies. Clear the surrounding area, confirm that the carriage remains functional, and use the boss’s fixed location to choose a defensive direction. That is more reliable than chasing targets across open terrain, where your reward can be lost along with your ammunition.
Frequently Asked Questions
What are the most common Dead Rails enemies?
The most common threats are regular zombies, fast zombies, vampires, Werewolves, and armed Outlaws. Zombies and Outlaws can appear during normal nighttime activity, while fast zombies are associated with cloudy full moons. Vampires appear during blood moons or inside the Castle, and Werewolves are reported during clear full moons or in that location.
When do hostiles appear in Dead Rails?
Community reports place the main hostile period at approximately 11 PM through 5 AM. Special enemies may have additional moon or location conditions, so clock time alone does not determine every encounter. Players should complete important repairs and looting before 11 PM when possible, then remain near cover when traveling through the night.
How do I counter a fast zombie?
A fast zombie is most dangerous because it can catch a walking player, although community reports describe it as fragile. Use a quick close-range weapon, crowd control, or a defensible position that prevents it from reaching the train. A shotgun can be effective when several enemies approach together, but a single fast target may require less damage than the group that follows.
Which boss has the highest reported health?
Nikola Tesla has the highest reported health in the available community data, with an estimate of roughly 5,800. That figure is not an official stat and may change after patches. Players should treat the encounter as a sustained fight, preserve ammunition, secure a retreat route, and avoid starting it without healing and a functional weapon.
Are Vampires and Werewolves worth fighting?
They can be worth fighting when your route includes the Castle or special moon conditions, but they are poor first targets for an under-equipped train. Vampires can teleport behind players, while Werewolves reportedly have 300–500 health and deal 40–60 damage. A Crucifix can eliminate a Werewolf, according to community reports, making it valuable for Castle runs.
The most effective approach to Dead Rails enemies is preparation: understand moon conditions, finish dangerous chores before 11 PM, control the carriage’s firing lanes, and treat named bosses as planned encounters rather than surprises. Combining those habits with the right counter for each special enemy preserves ammunition, protects the train, and makes each of the Dead Rails bosses a manageable objective.