
A dead rails wolf pack is dangerous because several fast enemies can surround a train before a single defensive shot lands. This guide explains their behavior, damage patterns, spawn conditions, and the formations that turn a coordinated attack into a manageable target.
Dead Rails Wolf Pack Behavior and Spawn Triggers
The dead rails wolf pack is best treated as a coordinated pressure encounter rather than a collection of ordinary animals. Wolves use mobility to close distance, threaten exposed train cars, and punish players who remain in one spot after a shot. Because their attacks can arrive from several directions, position and target priority matter more than simply having a strong weapon.
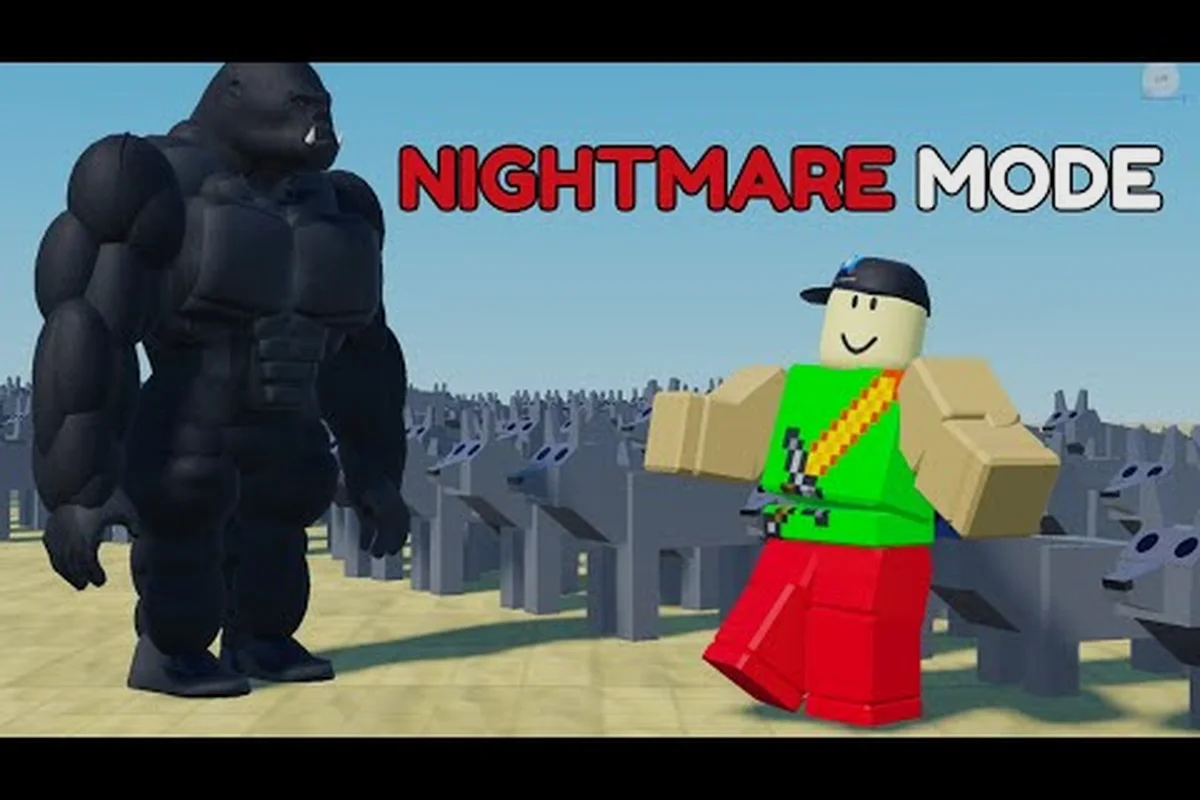
Community reports describe the wolf pack as especially dangerous during outdoor travel and around locations where multiple players or train sections can be separated. Spawn conditions can change with the current build and event state, so treat any specific trigger as provisional until it is confirmed in-game. A Dead Rails wolf pack gameplay video provides a community-produced visual reference for observing enemy movement rather than an official stat sheet.
Key behavior markers
Recognizing warning signs gives a squad time to choose a formation before a dead rails wolf pack reaches the train. Movement speed, spacing, and attack direction reveal whether the pack is committing, circling, or trying to split the crew around exposed cars; for example, one wolf advancing while the rest hold position can signal a bait-and-switch attempt, while a sudden retreat may precede a rear flank. Comparing these patterns against terrain, nearby targets, and the current update helps crews react before a wolf boss encounter turns into a surrounded-car disaster.
| Warning sign | What it indicates | Immediate response |
|---|---|---|
| Wolves approach from separate angles | The group is spreading to flank | Keep the train moving or reposition the crew |
| One wolf advances while others wait | A bait-and-switch pattern may be forming | Focus the isolated threat first |
| Pack returns after a brief retreat | It may be circling toward exposed cars | Check rear and side approaches |
| Multiple howls occur together | Several enemies have likely aggroed | Prepare a concentrated burst |
| Wolves move through narrow terrain | The pack is compressing its formation | Use a choke point and avoid chasing |
These markers are more dependable than a specific health number because enemy behavior can be affected by terrain, nearby targets, and the current update. A crew that reacts to spacing instead of waiting for a perfect opening will usually survive more reliably.
Spawn planning
A dead rails wolf pack is most likely to become a problem when the route offers too little room to maneuver or when the crew has split up. Before leaving a settlement, check the available weapons, repair supplies, and whether another group is traveling nearby. If a fight appears unavoidable, the best preparation is a clear assignment for who watches each side of the train.
| Travel condition | Risk level | Preparation |
|---|---|---|
| Open road with clear sightlines | Lower | Keep moving and use ranged weapons |
| Dense forest or uneven route | Higher | Use a single forward point of contact |
| Station with multiple exits | High | Assign sentries to likely approach routes |
| Split party or exposed train cars | Very high | Regroup before entering the area |
| Recent wildlife encounter | Elevated | Expect a possible second wave |
The practical value of this table is that it converts an uncertain encounter into a preparation checklist. If the route is narrow, the crew should avoid spreading across several cars, because every extra position creates another opening for a flank.
Dead Rails Wolf Pack Damage and Survival Priorities
Surviving the dead rails wolf pack requires prioritizing movement, spacing, and target selection. Wolves are especially effective against players who stand still or occupy the same platform without a firing plan. A coordinated shot can remove the nearest threat, but it cannot compensate for poor positioning when enemies arrive from multiple sides.
Community data places ordinary werewolf health in the approximate range of 300–500 health, although this is a player-reported estimate rather than an official figure. The same reports describe attacks dealing roughly 40–60 damage under conditions including a clear full moon and appearances around the Castle. These numbers may vary with game updates, difficulty, or encounter conditions, so use them as preparation context rather than exact encounter calculations.
Choosing the correct target
Targeting the wolf closest to the train usually protects the crew first, but a wounded wolf can become the most urgent threat if it is about to reach a vulnerable car. The priority is based on distance, incoming damage, and whether the player is being pressured from another direction.
| Priority | Target | Reason |
|---|---|---|
| 1 | Wolf about to board or reach the train | Prevents immediate damage and protects vulnerable sections |
| 2 | Wolf attacking a distracted player | Stops the crew from losing health and space |
| 3 | Heavily damaged wolf | Removes a threat before it can retreat and regroup |
| 4 | Distant wolf | Useful when the close group is already contained |
This priority order keeps the team from firing at a convenient target while an active flanker reaches the train. In a tight route, however, a distant target may become dangerous quickly, so the crew should reassess as soon as the pack changes direction.
Weapon and item choices
The most dependable counter is a weapon that can deliver a concentrated burst before the pack spreads through the car. Shotguns and the Crucifix are especially useful against werewolves according to community field notes, while rifles and headshots are reported to be stronger against human outlaws. A mixed crew should therefore carry more than one answer to different enemy types.
| Enemy situation | Effective answer | Why it works |
|---|---|---|
| Wolves closing from several sides | Shotgun | Broad coverage can discourage multiple attackers |
| One armored or persistent werewolf | Crucifix | Community reports describe it as a strong werewolf counter |
| Outlaws mixed into the encounter | Rifle with headshot focus | Precise fire can remove dangerous rifle users |
| Pack entering a narrow passage | Coordinated fire | A single firing point limits flanking angles |
| Player forced to retreat | Holy Water or another defensive item | Buys time to reset the formation |
Community notes also mention Holy Water and Crucifix as effective tools against vampires, while turrets and coordinated fire help with bosses. Those items may not be the primary answer for every wolf encounter, but they can protect a fragile crew during a mixed fight.
Dead Rails Wolf Boss and Packmaster Tactics
The dead rails wolf boss and the dead rails packmaster are separate references that players often group together because both involve elite or grouped enemies. The distinction matters for preparation: a boss requires concentrated damage and timing, while a packmaster encounter is best handled through formation control and repeated focus fire.
A dead rails packmaster is a leadership-tier threat in the broader enemy set, while the dead rails wolf boss is the more specific target associated with a powerful wolf. The exact trigger, reward, and health pool can vary by version, so the safest approach is to observe the fight rather than assume that every wolf encounter shares the same objective.
Boss-phase indicators
Boss behavior in the dead rails wolf pack becomes easier to read when the crew identifies transition points such as the leader advancing first, lesser wolves spreading to different angles, or the packmaster pausing to reposition. These indicators are practical observations from player reports, not fixed timing windows, so the crew should respond to visible movement and threat changes rather than rely on a rigid timer. For example, if the boss suddenly stops advancing while Captain Prescott or Nikola Tesla remains near the center, that pause can signal a recovery window; similarly, increased speed or aggressive repositioning may indicate an enrage or pursuit phase. Watching these cues lets the team preserve its main damage plan while adjusting targets only when the pack’s formation actually changes.
| Encounter phase | Likely behavior | Team response |
|---|---|---|
| Opening | The leader draws attention or advances first | Save the strongest burst for the main threat |
| Pack spread | Lesser wolves attack from different angles | Assign two players to the leader and one to contain flanks |
| Recovery window | The boss pauses or changes position | Close distance and land the next concentrated volley |
| Enrage or pursuit | The boss becomes more aggressive | Disrupt, retreat, and avoid a stationary trade |
The important distinction is that a boss fight should not use random target switching. Assign a primary gunner, a support shooter, and a lookout. If the dead rails packmaster appears, the crew can redirect the lookout toward the lesser wolves while the main damage plan stays intact.
Focus-fire setup
A practical formation is a short line with the boss-facing player slightly forward and the support player angled toward the side. The team should shoot only when the relevant targets are in range, and the support player should cover the open flank rather than duplicate every shot. This leaves the boss exposed to the primary burst while preserving a response to circling wolves.
When a boss uses a movement mechanic, the first player should continue attacking while the second repositions along the train. A rigid formation is easier to punish because every wolf can approach the same weak point. Flexible spacing gives the boss fewer clean angles and prevents the entire crew from moving as one vulnerable target. For a broader view of elite encounters, the dead rails edison boss guide is useful for comparing boss preparation with the wolf fight, especially the difference between dealing with a single large health pool and managing several moving attackers.
Dead Rails Captain Prescott and Nikola Tesla Encounter Context
The dead rails captain prescott and the dead rails nikola tesla boss can become relevant when the route places a wolf group near major objectives or crowded encounters. These names are not interchangeable with the wolf pack, but understanding their role helps the crew decide whether to fight immediately, delay, or redirect the train.
The dead rails captain prescott is associated with a named human threat, while the dead rails nikola tesla boss belongs to the game’s unusual electrified boss roster. Community information places Tesla’s health near 5,800, but that is a single-source estimate and should be checked against the current build. The dead rails edison prime is another major objective that can draw attention away from a wolf approach.
Do not combine every threat
A train under attack by a wolf pack is already operating with split attention. If a named boss begins an encounter nearby, the crew should establish whether it is actually approaching or merely occupying the same area. Fighting both at once can leave the team split between a fast pack and a durable boss.
| Threat combination | Risk | Better plan |
|---|---|---|
| Wolf pack plus distant named boss | Manageable | Deal with wolves, then reassess the boss |
| Wolf pack entering during a boss fight | Very high | Retreat, break line of sight, or use terrain |
| Wolves surrounding one train car | High | Focus the closest boarding point |
| Packmaster with several regular wolves | High | Assign one player to each role |
| Captain Prescott encounter with an active pack | High | Preserve escape options and avoid unnecessary damage |
The dead rails how to beat nikola tesla preparation should be separated from wolf tactics. Tesla needs a dedicated damage plan, while wolves need spacing and immediate target priority. Combining those requirements usually produces slower kills and a less stable train. If the crew is entering a special mode where route conditions are more important than standard travel, compare the Dead Rails Edison revenge mode guide for additional objective and survival considerations before committing to a difficult route.
A Practical Dead Rails Wolf Pack Survival Plan
A reliable dead rails wolf pack response has four stages: detect, contain, focus, and recover. This plan is useful even when the crew cannot identify every spawn trigger, because it reacts to observable behavior rather than a possibly outdated checklist.
Stage 1: Detect the approach
Assign one lookout to watch the side and rear of the train. The lookout should call direction, count, and spacing instead of simply warning that enemies are present. “Two left, four ahead, one behind” gives the gunners a usable battle picture, while a vague warning forces everyone to turn at once.
Stage 2: Contain the pack
Use the train or terrain as a barrier. A single firing point prevents the pack from surrounding the crew, while a moving train can discourage a rear attack. If the crew must stop, position the most reliable shooter at the narrowest approach and keep weaker players behind the strongest damage source.
Stage 3: Focus the nearest threat
Choose one wolf as the primary target and commit to it, using clear, short-range shots first so damage is not split across multiple bodies. This matters most against a Dead Rails wolf pack, where staggered attacks can leave several wolves attacking at once; focusing the nearest threat reduces incoming pressure and prevents your attention from jumping between targets. As an example, if two wolves close together, finish the one already in your firing arc before turning to the second. Once that target drops, reassess immediately: the remaining pack may have changed its plan, especially if the Dead Rails Packmaster, Dead Rails Captain Prescott, or another elite unit begins directing the next wave.
Stage 4: Recover and inspect
After the fight, check health, ammunition, and train condition before continuing. The pack may retreat briefly, and a team that rushes onward can be caught by a second wave. A short recovery pause is often more efficient than losing the train to a follow-up attack.
| Situation | Best formation | Main benefit |
|---|---|---|
| Narrow forest path | Single file with one forward shooter | Limits side attacks |
| Open plain | Loose semicircle around the train | Prevents a full surround |
| Station platform | Crossfire at the entrance | Uses a predictable choke point |
| Moving train | Side-facing positions with a rear lookout | Protects both vulnerable directions |
| Boss with minor wolves | One boss team and one containment player | Prevents target confusion |
A community walkthrough can help with visual identification, but players should verify current mechanics in their own session because patches may alter spawns, damage, or enemy behavior. The safest habits are to keep a lookout, preserve one firing point, and avoid committing the entire crew to a distant target.
When to Retreat, Trap, or Finish the Pack
Not every wolf encounter should be finished immediately. Retreat is valuable when ammunition is low, the train is badly damaged, or the crew has lost its firing formation. Since the objective is usually survival rather than farming, preserving movement and train condition can be more valuable than collecting a small enemy reward.
A controlled retreat works best when the crew does not scatter. One player keeps visual contact, another protects the slow or damaged car, and the rest fire only when pursuing wolves cross open ground. The team should choose a clear destination, such as a station, tunnel, or previously cleared area, rather than retreating in a random direction.
The dead rails packmaster becomes especially relevant when the crew must protect a boss objective. If the packmaster is part of a larger event, use the same rules as a two-target problem: keep the boss-facing shooter separate from the containment role, and do not let a flanking wolf pull the boss team off target.
Decision checklist
| Question | If yes | If no |
|---|---|---|
| Is a wolf already inside the train? | Eliminate it before moving on | Maintain a firing point |
| Is the crew out of reliable damage? | Retreat or use defensive items | Focus the nearest wolf |
| Has the train lost substantial condition? | Break contact and regroup | Continue the contained fight |
| Is a named boss active? | Avoid a two-front battle | Finish the pack |
| Are wolves circling instead of pressing? | Watch the likely attack angle | Keep firing at the closest threat |
The Dead Rails Silver Coins guide can help with the broader progression picture, but coins should never justify staying in a losing fight. A clean retreat preserves the opportunity to return to the route later.
Frequently Asked Questions
What is the best formation against the dead rails wolf pack?
Keep the crew in one concentrated firing point, ideally beside the train or at a narrow passage. A forward shooter handles the closest wolf while a rear lookout prevents a flank. Avoid spreading players evenly across the train because that gives every wolf an independent route to a different car.
Does the dead rails wolf boss appear during the same event as ordinary wolves?
They can overlap, but they require different priorities. Ordinary wolves are best handled through spacing and focus fire, while the boss needs concentrated damage and clear assignments. Keep one player responsible for containing lesser wolves so the main damage team does not lose its target.
What weapons work best against werewolves in Dead Rails?
Community field notes identify shotguns and the Crucifix as effective options against werewolves. A shotgun can discourage several attackers at once, while the Crucifix offers a specialized answer to persistent targets. Availability and current balance may vary, so confirm the best option for your build.
How much damage does a wolf pack deal in Dead Rails?
Community reports estimate werewolf attacks at roughly 40–60 damage under conditions including a clear full moon and appearances around the Castle. These are not official numbers and may change with updates, difficulty, or encounter state. The safer strategy is to reduce incoming attacks rather than calculate exact survival totals.
Should players fight the dead rails packmaster or retreat?
Fight when the crew has a stable firing point, adequate ammunition, and a way to contain lesser wolves. Retreat when the train is damaged, the team is split, or a named boss has created a second major threat. A successful escape preserves the route and allows a stronger loadout to handle the encounter later.