
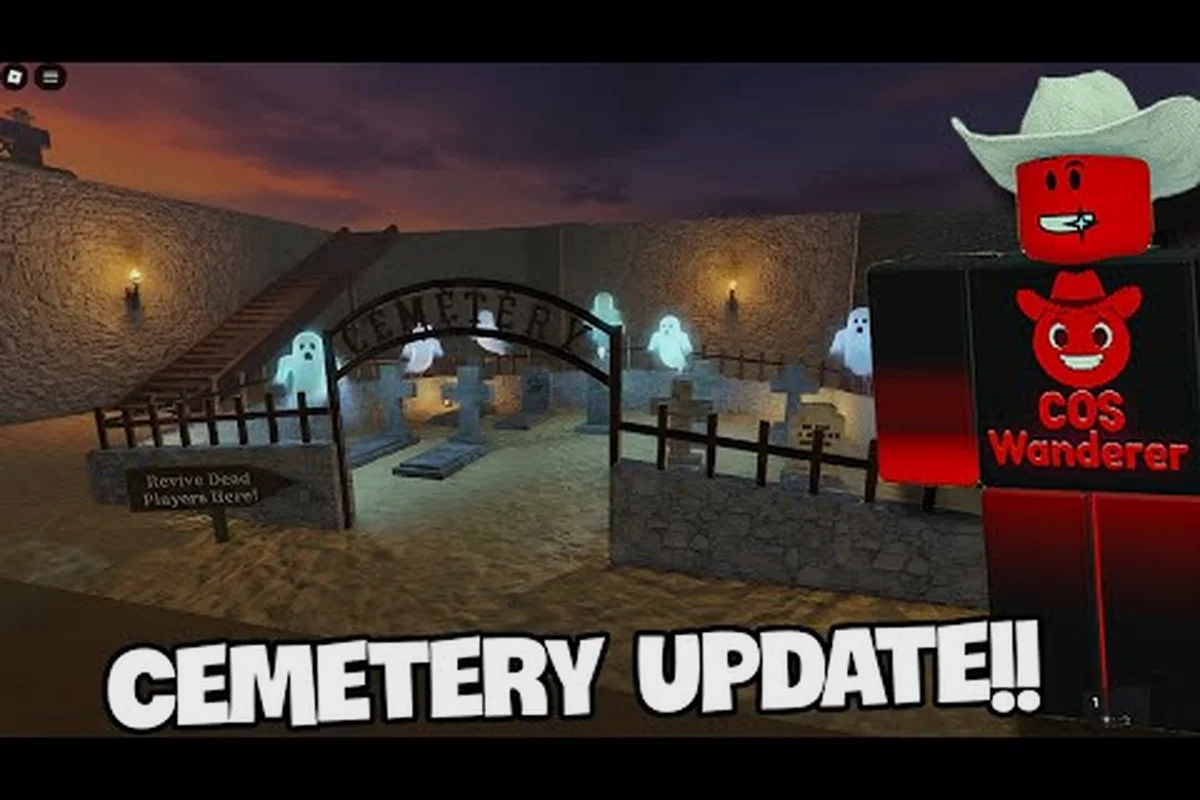
The cemetery matters in Dead Rails because it concentrates loot while placing your train near predictable enemy pressure. Treat the stop as a timed transfer operation: confirm that the locomotive has enough fuel and boiler pressure to leave, assign guards to cover the loot route, and keep the engineer ready to start the train rather than leaving it unattended. A successful cemetery visit can fund the next route by providing scrap, weapons, or fuel-related supplies, but lingering creates a risk that enemies overwhelm the guards or the train. Coordinate the engine, fuel, guards, and exit plan so the crew can extract quickly instead of turning a valuable stop into a costly siege.
Dead Rails Cemetery Overview: Why the Stop Is Worth the Risk
Learning how to use the cemetery is less about finding one particular building and more about controlling a timed expedition away from a moving locomotive. The cemetery is one of the wasteland’s recognizable landmarks, so players naturally treat it as a destination, yet the safest visit is the one planned before the train stops. Your crew needs to know who will disembark, who will defend the engine, how much fuel remains, and how quickly everyone can return.
A cemetery visit can be valuable because it gives players access to loot in structures while drawing enemies toward a fixed location. That makes it possible to choose the engagement instead of accepting random encounters along the road. The same concentration of danger is why a careless stop can become costly: a large crew that spreads out may lose sight of the train, collect too slowly, or fail to regroup when a stronger enemy appears.
The train itself remains the center of the operation. According to the community walkthrough for Dead Rails how to use the cemetery gameplay video, a crew of up to 16 players operates a steam locomotive through a procedurally generated 1899 wasteland, with the boiler serving as both transport and mobile base. The run ends after reaching 80 km and lowering the bridge, although the cemetery can provide supplies before that final objective.
| Cemetery planning element | Recommended decision | Why it matters |
|---|---|---|
| Dismount group | Send only the necessary scavengers | Reduces exposure around the engine |
| Train escort | Keep at least one defender when danger is high | Protects fuel and the locomotive |
| Visit length | Set a short, shared time limit | Prevents the crew from being stranded |
| Loot priority | Secure useful supplies before optional valuables | Keeps the group focused on survival |
| Return point | Regroup at the train, not at a separate landmark | Makes departure and boarding simpler |
The key principle is concentration without separation. Search the cemetery in pairs or small teams, assign lookouts, and make the train the only rally point. If the train cannot move promptly, the expedition becomes much more dangerous. This approach also pairs well with the Dead Rails cannon guide because a defended locomotive gives your looting party room to focus on the objective rather than watching every approach.
How to Use the Cemetery Without Losing the Train
The best cemetery run begins before the locomotive reaches the landmark. Park where the crew can see the train, keep the exit path clear, and decide in advance which structures merit a search. A cemetery may contain several points of interest, but visiting every one is rarely worth the added exposure. The best loot is the loot that can be carried back before the route changes or a stronger enemy arrives.
Choose a Safe Parking Position
Use elevation, distance, and visibility instead of relying on a single ideal patch. A position should give the crew a direct path to the locomotive without requiring them to cross other parts of the map. Avoid stopping with the train boxed against terrain, since trapped passengers cannot board quickly. Also avoid a location where the engine would need to reverse through the area being searched, because that can expose the boiler to approaching enemies.
Before disembarking, check the route the train will use next. If the next stretch is narrow, crowded, or likely to contain a special enemy, keep the visit brief. The cemetery should be treated as an optional supply stop, not a mandatory detour that delays the run beyond the point where fuel or survival becomes a problem.
Assign Roles Before Leaving the Train
A clear role split prevents several common mistakes in the cemetery. Assigning one player to each building stops the crew from duplicating searches, while a dedicated defender remains beside the train engine to watch for approaching enemies. The coordinator should also restrict each scavenger’s route, because scattered players can overload cargo space, strand teammates, and force the train to wait during a dangerous stop.
| Role | Main duty | Avoid |
|---|---|---|
| Scavenger | Search nearby structures and collect essential supplies | Wandering farther than the assigned area |
| Defender | Watch the train and delay enemies near the engine | Leaving the post to collect loot |
| Scout | Check the next route and report movement | Starting an unapproved stop |
| Coordinator | Track time, calls, and regrouping signals | Splitting attention across every group |
| Loader | Sort recovered items and manage cargo space | Delaying departure with excessive sorting |
When the train is under threat, the coordinator should call everyone back rather than allowing personal greed to determine the retreat. Loot that cannot be carried out provides no lasting benefit. Players should use a quick rule: recover the item if it is close, leave it if it requires crossing the area twice, and never delay the entire crew for one optional item.
Set a Collection Priority
The cemetery can contain more objects than the crew can carry or inspect in a reasonable time. Prioritize ammunition, medical supplies, fuel, repair materials, and train equipment when those are available. Valuable scrap should come after the supplies that prevent an immediate breakdown. This approach keeps the stop useful even when the first structure offers only a modest haul.
Community reports describe coal as the most efficient common fuel for the train stove, although exact burn values can change with patches. A useful reference point is approximately $20 for 12.5 of 50 fuel units, though that figure should be treated as patch-sensitive. A cemetery run that collects only one fuel item is usually less valuable than one that gathers several materials needed for the next stretch.
Dead Rails Train Controls for a Clean Cemetery Exit
Knowing how to drive the train is essential because the cemetery stop creates a moving-target problem for the crew. The locomotive must remain responsive, and the driver needs time to account for new obstacles, passengers, and enemy pressure. Learning the Dead Rails train controls also lets the driver choose a stop that keeps the engine protected and the exit route open.
Put the Engine in a Usable State First
The boiler must remain fed because the locomotive functions as the crew’s transport and mobile base. Before the cemetery search begins, confirm that the stove is receiving fuel and that the engine is in a state that permits movement. Do not wait until the threat is already at the fence to discover that the fire has faded.
A practical pre-stop procedure is: pause on track that offers a clear sightline, because an early stop preserves more options for the locomotive and lets the crew inspect the cemetery before boarders close in. Use the train’s position to check for hostile movement, then confirm that the boiler still has an active fire and that the engine controls respond before anyone dismounts. Treat the locomotive as the mobile base: a stopped engine with a fading fire can strand the crew in the cemetery, while a checked, movable train provides a safer route for emergency boarding or a quick retreat.
-
Read the current fuel status and add fuel before the crew commits.
-
Stop where the locomotive can pull forward without a sharp direction change.
-
Keep the engine accessible so a defender can protect the firebox and driver.
-
Confirm that the cart doors, windows, and boarding points are not blocked.
-
Assign one player to watch for boarders while others search.
The detailed reference for Dead Rails train controls is useful for checking current control behavior, but current build details should always be confirmed in game. Exact inputs or interface labels may change, and a control arrangement that looks different in an older video can create mistakes during a hurried departure.
Account for the Return Passengers
The hardest part of a cemetery stop is often the final minute. Scavengers reappear with uneven inventories, some players may lag behind, and the locomotive’s available space may no longer match the number of returning passengers. Drivers should not accelerate the instant the final visible person reaches the train. Wait for boarding prompts, clear the doorway, and make sure the rear cars are not still occupied.
| Departure condition | Driver response | Crew response |
|---|---|---|
| All players aboard and no immediate enemy | Begin moving gradually | Remain seated and ready |
| One player still searching | Hold position but prepare to leave | Call the player and report enemies |
| Enemy at the train | Start or prepare to retreat | Defender delays the enemy; others board |
| Fuel is dangerously low | Prioritize immediate departure | Carry recovered fuel to the stove |
| Train is blocked or unstable | Reverse or reposition carefully | Clear the obstruction without scattering |
Dead Rails train controls become easier to use when the driver has a simple rule: position first, speed second. A controlled stop gives boarding players time to react, while a sudden launch can leave someone behind. Drivers should also communicate whether the next movement is forward, backward, or stationary, especially when the locomotive is fighting an enemy at the boarding point.
Keep the Exit Route Usable
Every successful loot route ends with a clear path home. A cemetery search should not deposit loot in a structure that the train cannot reach directly. When a promising spot sits far away, one player can make a quick approach while the rest of the group remains near the engine. If enemies begin blocking the route, abandon the optional search instead of turning the return journey into a second combat encounter.
The train horn and other defensive equipment can help with that departure, but the Dead Rails cannon overview is a better reference for comparing mounted tools and their practical roles. Whether a crew uses a cannon, barricades, or simple ranged weapons, the principle stays the same: weapons buy time for the train to move, while fuel and a clear lane make that time useful.
How to Refuel the Train After a Cemetery Search
A successful raid can still become a failure if the train cannot leave afterward. Learning how to refuel the train before reaching the cemetery prevents a simple supply problem from turning into a stranded run. The stove accepts several fuel types, including coal, wood, paper, furniture, and even tumbleweed, but not every material is equally efficient or appropriate for every situation.
Match the Fuel to the Next Route
Coal is the strongest practical choice when it is available because community testing describes it as the most efficient common fuel. Wood and other accepted objects can keep the engine moving, but they may consume the available supply more quickly. Furniture can be valuable as loot, so using it as fuel also carries an opportunity cost. Decide whether the next segment is long enough to justify burning a useful item.
| Fuel option | Practical strength | Strategic consideration |
|---|---|---|
| Coal | Efficient common option | Best first choice when the crew has enough |
| Wood | Accessible backup | Useful when coal is unavailable |
| Paper | Emergency resource | Treat as a stopgap rather than the main supply |
| Furniture | Flexible fuel source | Burning it may remove a useful loot item |
| Tumbleweed | Low-value fallback | Better than allowing the engine to stop entirely |
Exact fuel consumption and pricing may shift after updates, so community figures should be treated as planning estimates rather than permanent rules. The Dead Rails cemetery update page can help you check whether the location or its rewards changed after a patch.
Refuel Before the Final Search
Do not save all remaining fuel for the moment of departure. If the boiler is already low, add fuel before the scavengers return. This prevents the engine from stalling while the train is surrounded and gives the driver time to test forward movement. Refueling while the group is still searching is safer than making a frantic repair after enemies have already closed in.
Fuel planning should be based on the route ahead rather than the boiler’s current bar alone. For example, if the next reliable stop is far from the cemetery, reserve enough coal to reach it at a steady throttle instead of using the last fuel to continue scavenging. The crew should also factor in the expected special enemies, available cargo space, and any planned detour before deciding how much to collect. A full boiler is useful for escaping, but excess fuel carried through the cemetery may reduce cargo capacity or force the train to idle longer while the crew works.
-
The distance to the next reliable stop.
-
The number of special enemies expected in the area.
-
How much cargo space remains for recovered fuel.
-
Whether the crew plans to detour again.
-
How much time the engine must idle at the cemetery.
-
Whether defenders need ammunition more than the train needs extra fuel.
A useful crew rule is to reserve enough fuel for the main objective before gambling on another stop. A cemetery is an opportunity to improve the run, not a reason to gamble away the run itself. When fuel is tight, collect enough for the next stable route and leave with the engine capable of reaching it.
Cemetery Loot Decisions and Defensive Setups
The value of a cemetery visit depends on what the crew brings back and what remains usable afterward. Loot should improve the next portion of the run, not merely increase the number of objects in a backpack. This is where understanding how to use the cemetery becomes a decision-making problem: evaluate the surroundings, limit exposure, and trade convenience for safety only when the risk is manageable.
Compare Loot Value Against Exposure
A valuable item deep inside a building may be worth less than a modest supply near the train if the deeper route requires crossing a zombie cluster or isolated enemy patrol. Distance, visibility, and the number of escape routes matter more than a simple price comparison. Community experience suggests that maintaining a group and keeping the train defensible is generally safer than sending one person across the cemetery alone.
| Cemetery result | Better choice | Reason |
|---|---|---|
| Loot is close to the train | Take it | Low travel time and easier retreat |
| Loot is exposed but reachable | Take it if the route is clear | It can be recovered with a short detour |
| Loot requires entering a dangerous structure | Skip it | The risk may exceed the reward |
| Loot is useful only by one player | Share the benefit if practical | Prevents a player from falling behind |
| Loot blocks carrying capacity | Choose essentials | Preserves room for ammunition and fuel |
| Loot attracts several enemies | Retreat | Protecting the locomotive matters more |
This comparison also explains why a cemetery can be worth visiting even when the haul is modest. If the crew gathers a little fuel, a repair item, and ammunition without losing anyone, the stop can still strengthen the next route. Conversely, an impressive pile of loot is worthless if the train is disabled or the crew is divided.
Build Defense Before the Search Expands
Community field notes recommend protecting entry points with metal sheets and using barbed wire to slow melee enemies. A Maxim Turret can also be welded to the train, with community pricing placing it around $125, though that value may vary by patch. These defenses matter most when the cemetery attracts several enemies, because the train must remain a dependable fallback.
Do not spend the entire search period constructing defenses that the crew cannot use. Existing barriers should be inspected first, and scavengers should focus on supplies. If extra defense is affordable, prioritize the side where enemies approach and the boarding area. A fortified train that cannot move because its crew stayed too long at the cemetery is still vulnerable.
Keep a clear division between the train’s defensive perimeter and the search area. A defender can cover one side, but the crew should avoid splitting into several small groups. That is especially important on full moons and storm nights, when community reports indicate that multiple special enemies can appear. If a player wants to improve the train before the next journey, the armored train overview offers a useful comparison of speed and survivability.
Keep the Scavenging Window Short
A cemetery stop becomes safer when the crew has a time target. The target should be strict enough to prevent a treasure hunt from consuming the fuel budget, but not so strict that players abandon essential supplies during a search. The coordinator can announce the remaining window and issue one final call before leaving.
At the call, every player should head directly to the train. No new structure should be opened, and no one should make a long trip for an item that was previously considered optional. If the crew cannot regroup promptly, the train may need to create distance and circle back later. A planned retreat is better than a desperate rescue run with a low boiler and blocked exit.
A Reliable Cemetery Stop Checklist for the Whole Crew
A short checklist helps prevent the most expensive mistakes: leaving the train without fuel, spreading out too far, and delaying departure. Run through it before the locomotive stops, not after the first enemy appears. The checklist works best when one person owns the timing and another verifies the engine.
Pre-Stop Checks for the Cemetery Visit
-
Check that the boiler has enough fuel for the cemetery visit and the following route.
-
Identify a parking position with a clear exit.
-
Divide the crew into scavengers, defenders, and a coordinator.
-
Identify the rally point and the final call time.
-
Decide which supplies count as mandatory pickups.
-
Confirm that boarding locations and train doors remain usable.
During the Cemetery Search
-
Stay within the assigned search area.
-
Keep one eye on enemies approaching the train.
-
Prioritize ammunition, fuel, medicine, and repair materials.
-
Return immediately when the coordinator calls the group back.
-
Leave optional loot behind if it requires a dangerous detour.
-
Report a blocked exit before the retreat begins.
Departure Checks After the Cemetery
-
Count returning players and check the rear cars.
-
Load fuel before requesting final departure.
-
Make sure doors and paths are clear.
-
Warn the driver about nearby enemies or obstacles.
-
Use a gradual start until the train is moving safely.
-
Keep the engine ready to move again if the crew must circle back.
This sequence turns the cemetery from a random detour into a repeatable operation. The exact loot changes, and the strongest threats vary by run, but the decision structure remains stable. A planned stop can support a long route, while an improvised stop can consume the fuel and time needed to reach the 80 km objective.
Frequently Asked Questions
Should every player leave the train at the cemetery?
No. A smaller search group reduces exposure and keeps the locomotive from becoming undefended. Keep at least one defender when enemy pressure is high, and send only as many scavengers as needed for nearby structures. This approach preserves the train as a working escape route instead of turning the entire crew into exposed targets.
Is coal the best fuel found around the cemetery?
Coal is generally considered the most efficient common fuel, while wood and other accepted materials serve as backups. The best choice depends on how much the crew has, how far the next route runs, and what useful objects it can preserve. Treat community fuel values as estimates because balance changes can alter efficiency and prices.
What should the crew do if enemies reach the train during a cemetery search?
The defenders should buy time while scavengers return with the useful loot already collected. The driver should prepare the engine, and the coordinator should call everyone aboard without opening another route. If the engine is low on fuel, prioritize immediate escape instead of trying to recover optional items from the cemetery.
Can the train move while part of the crew is still searching?
It can, but only if the driver has a safe route and knows where the remaining players are. Moving without a clear signal can separate the group or leave someone behind. Give a final boarding deadline, verify the rear cars, and depart gradually so late-returning players have time to board.
How long should a cemetery stop last?
Keep the visit short enough that fuel, enemy pressure, and route time remain under control. Set a visible deadline, search the nearest useful structures first, and retreat when the final call is made. A modest haul collected safely is more valuable than a larger one that strands the train or forces a difficult rescue.