
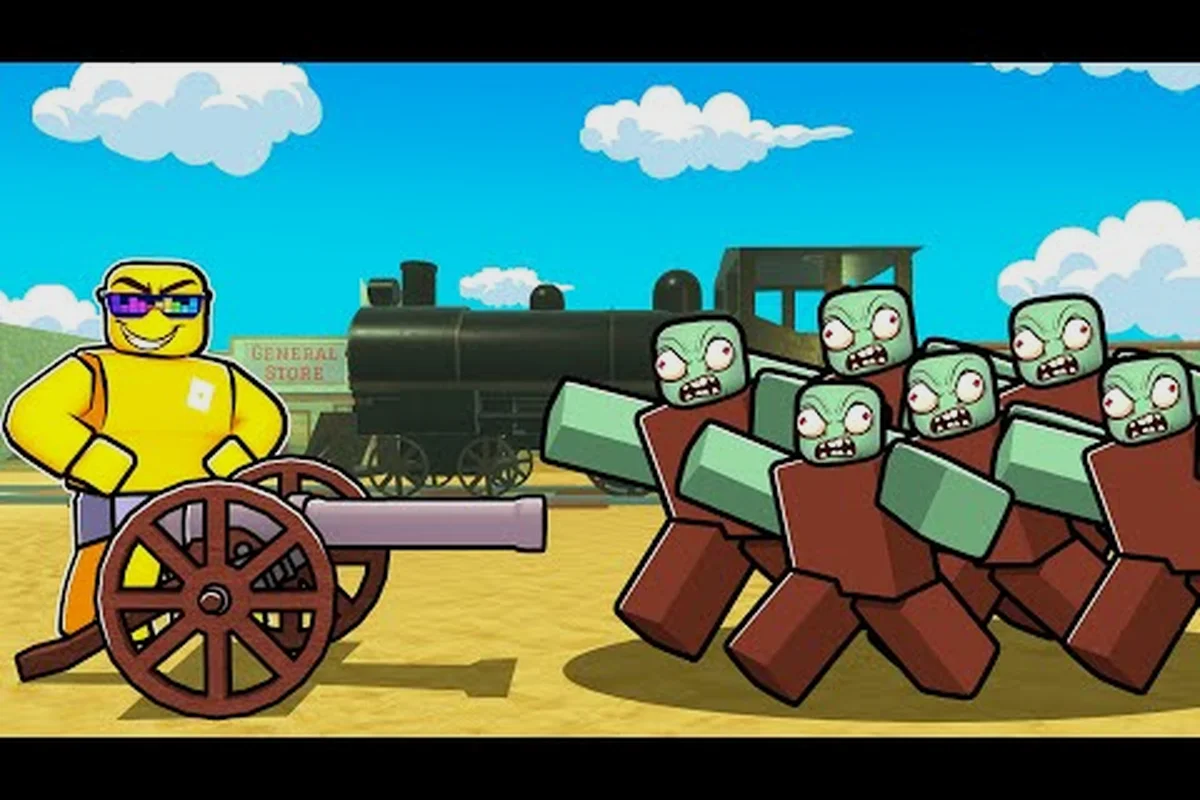
A dead rails cannon changes how a crew handles defense, but it only works when the train, ammunition, and crew positions are planned together. This guide explains the best cannon tactics, cart use, horn timing, seat assignments, and train-versus-horse decisions.
Dead Rails Cannon Fundamentals for a Mobile Defense Platform
The dead rails cannon is most valuable when the locomotive is treated as a moving defensive position rather than a simple transport. Its useful range depends on the crew’s equipment, the available ammunition, and whether the train can keep moving while under fire. That makes cannon placement part of a broader operating plan involving fuel, cart layout, and access to the engine.
A reliable setup starts with three separate tasks: someone drives, someone maintains the stove, and another crew member handles threats. The gunner can then focus on targets instead of constantly switching between controls and repairs. A train that stops because several players are fighting over the same task is more vulnerable than one that lacks a cannon entirely.
| Cannon priority | What it solves | Crew action | Best result |
|---|---|---|---|
| Early route defense | Scattered enemies | Keep the target ahead of the locomotive | Fewer wasted shots |
| Fort approach | Sustained incoming fire | Face the strongest approach while protected | Fewer cabin breaches |
| Night travel | Moving threats | Fire while the train maintains speed | More time between encounters |
| Boss encounter | Concentrated enemy pressure | Pair cannon fire with other weapons | Better target coverage |
Community field notes describe turrets, metal sheets, and barbed wire as the broader fortification system. Those defenses work with the cannon because they reduce the number of directions from which the crew must fight. A cannon should not replace armor, but it can exploit the protection created by a sealed cabin and prepared entrances.
Preparing the locomotive before firing
The train cart serving as the ammunition platform must be arranged before enemies arrive. Keep shells in one clearly controlled area, reserve room for an operator, and avoid blocking doors or cargo routes. The exact shell storage arrangement can change with updates, so players should verify the current inventory behavior in-game rather than copying an outdated build.
A practical preparation sequence is: stock the train cart with a controlled cannon load, position the locomotive where the firing arc is clear, and designate one player to operate the dead rails cannon while another watches for threats. For example, on a multi-car train, place shells near the gunner’s reachable side without filling the entire cart, then confirm that the cannon can rotate or engage targets before the first wave arrives. This ordering prevents ammunition from being scattered during combat and reduces the chance that a blocked carriage door or crowded platform leaves the crew unable to respond.
-
Clear the firing lane. Check that scenery, barriers, and other trains will not prevent the cannon from engaging a useful target.
-
Load a limited defensive burst. Bring enough ammunition for the current threat, but do not let the cart become so crowded that a doorway becomes unusable.
-
Test the range during daylight. Fire at a harmless distance and mark where the operator can stand without blocking the crew.
-
Assign a dedicated gunner. This player should prioritize targets approaching the locomotive, not stationary targets far behind it.
-
Reposition only during a lull. Moving the train or cart during an active wave often creates more risk than it solves.
The Dead Rails cannon gameplay video provides a useful visual reference for locomotive layouts and community-built defenses. Because armor, carriage options, and train purchases can change after patches, confirm the current build before committing to a particular configuration.
Dead Rails Train Cart and Cannon Placement Decisions
Cart choice influences the dead rails cannon more than the cannon’s nominal power. A cart can add storage and working space, but it also changes acceleration, stopping distance, and the number of exposed positions. The best setup gives the gunner a stable platform without making the entire train fragile.
Players comparing locomotive types should also study the differences covered in the dead rails gold rush train overview. Its useful traits depend on route, cargo needs, and available budget, which means the cannon plan should be evaluated alongside the train rather than separately.
Choosing the right cart for defense
A dedicated combat cart offers space, but a mixed-use cart can be more economical for a small crew. The key question is whether ammunition and passengers can be organized without blocking emergency movement. A crowded cart becomes dangerous when a player must climb over loose items during a night encounter.
| Cart layout | Strength | Limitation | Cannon recommendation |
|---|---|---|---|
| Dedicated combat cart | Best weapon and crew separation | Higher purchase or conversion cost | Preferred for organized crews |
| Mixed cargo and combat | Flexible for valuables and defense | Ammunition may be mixed with valuables | Keep shells separated and labeled |
| Minimal passenger cart | More open space and easier movement | Less protection and storage | Better for light defense |
| Open utility platform | Simple and inexpensive | Exposes crew and equipment | Use only with strong armor |
A single-operator cart can work for a solo or two-player train, but the driver must remain at the controls. A player who repeatedly abandons the locomotive to fire may stop the train or redirect it toward obstacles. This is why the solo survival guide should be considered alongside cannon plans: route control remains the foundation even when the train is well armed.
Position the cannon for a forward defense
The most effective angle is usually the direction from which enemies are closing. A forward-facing cannon allows the operator to engage before threats reach the passenger cars, while a rear-facing setup can punish retreating zombies but leaves the locomotive’s main approach exposed. If the crew cannot cover both directions, the front-facing defense is the safer default.
Height and stability matter too. A cannon mounted in a cramped area may deal damage but prevent the operator from reacting to approaching threats. For example, a gunner squeezed between a train cart and the locomotive may have no room to pivot, forcing a reload or turn during a zombie approach. Leave enough space for a full firing arc, and prefer a stable platform over a position that blocks the driver’s view. Before defending a route, test these positioning concerns:
-
Can the gunner rotate without colliding with the driver?
-
Does the shot path remain clear after the train turns?
-
Can an injured teammate reach a healing item?
-
Is the ammunition reachable without crossing the operator’s firing position?
-
Do nearby carts block the muzzle or create an exposed target?
The cart defense layout should provide a clear division between ammunition, the operator, and emergency supplies. If only one player handles the cannon, place it within easy reach of the driver. If several players are available, dedicate one gunner and let another crew member monitor the sides.
Dead Rails Train Horn and Seats for Crew Coordination
The dead rails train horn serves as a simple coordination tool: it can announce a route change, gather the crew, or warn that a defense is about to begin. Its practical value rises when every player agrees on a signal before the locomotive enters a dangerous area. Horn use should remain brief. A long or repeated signal during combat can distract the driver or cause players to stop tasks at exactly the wrong moment. A clear one-to-one pattern is easier to remember than a complicated code.
| Signal | Recommended meaning | Best timing |
|---|---|---|
| One short horn | Assemble at the locomotive | Before departure or a defense phase |
| Two short blasts | Defensive positions needed | When enemies approach |
| One long blast | Stop or hold position | Near obstacles or before a sharp turn |
| Repeated short blasts | Emergency retreat or regroup | After a failed defense |
These are player-created conventions rather than confirmed universal commands, so communicate them before the run. For example, decide whether two short blasts mean that the crew should take defensive positions while one long blast tells the locomotive to stop; this prevents a warning from being mistaken for a retreat order. Consistency matters more than choosing a technically impressive code, especially when the dead rails cannon, train seat, or train cart roles split the crew between attacking and driving.
Assigning a dead rails train seat
The dead rails train seat determines more than where a character sits. It can place the player near the driver, at a defense point, or away from the busiest doorway. Seat assignment should follow responsibility because scattered positions can delay reactions when the train is moving.
A reliable crew map assigns one seat to the driver, one to the cannon operator, and another to the stove or resource manager. Remaining players can cover doors or monitor cart access. The train horn can bring everyone back to these positions when a route or threat changes.
| Crew role | Preferred position | Responsibility |
|---|---|---|
| Driver | Driver’s cabin | Speed, heading, and stopping |
| Cannon operator | Stable firing position | Target priority and ammunition |
| Stove manager | Near the fuel supply | Coal, heat, and engine upkeep |
| Door defender | Beside the main entrance | Early contact with attackers |
| Cart handler | Between valuable and combat carts | Access control and cargo security |
The seat rotation plan should change only when the train is safe. A rotated crew can be effective during daylight, while a locked arrangement is usually better at night. If the locomotive is under fire, the operator should prioritize the current target and let the others handle secondary threats. For a broader look at crew responsibilities, the dead rails how to beat guide can help connect seat assignments with survival priorities. A cannon earns more value when every nearby role has a defined task.
Dead Rails Train Tips for Fuel, Armor, and Ammunition
Cannon fire creates a false sense of security, but ammunition alone cannot save a stalled locomotive. These dead rails train tips focus on the support systems that allow the gunner to keep firing: fuel reserves, protected entrances, accessible ammunition, and clear communication.
Community reports identify coal as the most efficient common fuel, although the exact amount required to reach 80 km varies with train speed, route, and driving efficiency. Plan a reserve instead of relying on one universal number. A dedicated fuel carriage and a driver assigned to monitor consumption reduce the chance that a cannon fight ends with an engine that cannot move.
Match ammunition to the encounter
Do not treat every enemy as a target for the cannon. Small groups can often be handled with cheaper weapons, while a dense wave, armored threat, or boss may justify the cannon. Ammunition left at the start of the route is wasted if it is never available during the encounter that matters.
-
Save shots during travel. Use controlled bursts against targets that block the route.
-
Reserve shells for fortifications. A fort or boss area often produces sustained pressure.
-
Keep a fallback weapon. The gunner should have a secondary option if the cannon line is blocked.
-
Track remaining ammunition. A visible count helps the driver decide whether to slow, divert, or push forward.
-
Never block a doorway. Emergency movement is more valuable than perfect ammunition organization.
The cannon ammunition plan should remain flexible because enemy density can change after dark or when the locomotive reaches a landmark such as a tunnel, bridge, or depot. For example, save a cannon shell for a sudden cluster blocking the track, but avoid firing into scattered enemies when ordinary weapons can clear the route. If cannon shots become costly and create no clear advantage for the locomotive, reserve them for an armored target that threatens to stop the train.
Use armor as active defense
Metal sheets over windows and doors absorb attacks, while barbed wire can obstruct doorway access. These upgrades also carry a speed cost, according to community field notes. That trade-off is important: a heavily armored locomotive may survive combat but arrive late, encounter another threat, or consume more fuel than the route allows.
| Build condition | Best cannon posture | Primary risk |
|---|---|---|
| Heavy armor, limited speed | Short defensive bursts | Fuel and route delay |
| Light armor, higher speed | Early target selection | Exposure during prolonged combat |
| Mixed armor | Protect active firing positions | Damage spread across weak points |
| No armor | Avoid sustained contact | Cabin and doorway breaches |
The armor-to-cannon ratio should reflect the route, not a universal preference. Stable fortifications and a dedicated dead rails gold rush train build can provide a solid foundation, but speed, coal, and ammunition still determine whether the setup reaches the final stretch.
Dead Rails Train vs Horse: Choosing the Right Expedition Vehicle
The dead rails train vs horse decision affects speed, storage, defense, and route flexibility. A horse can move quickly across open terrain and may escape some threats, while a train provides more space for cargo, fortifications, and sustained fire. The stronger vehicle depends on the crew’s objective and the route’s demands.
A train becomes the better choice when the group intends to collect valuables, defend a moving base, or reach a distant destination with substantial supplies. A horse is often better for quick scouting, short errands, or a lightweight run where storage and sustained defense are less important. The practical question is not which is universally faster, but which can complete the intended expedition with fewer failures.
| Consideration | Train | Horse |
|---|---|---|
| Cargo capacity | Higher | Lower |
| Defense options | Cannon, turrets, armor, barricades | Limited rider equipment |
| Fuel requirement | Coal and engine management | Feed and rest management |
| Route commitment | Strong | More flexible |
| Night safety | Fortifiable but exposed during stops | Less protection from massed attacks |
| Best use | Long organized expedition | Rapid travel or reconnaissance |
When a train supports the cannon plan
The locomotive is the superior platform for a cannon-centered expedition because it can carry the weapon, ammunition, crew, and reserves without constantly reducing the load on a mounted animal. It also allows a crew to establish temporary positions around doors and cars. The trade-off is that every extra carriage or defensive feature can affect speed and fuel use.
Choose the train when the group needs several of the following: a train cart that can carry the cannon and heavy ammunition without burdening a horse, multiple crew positions to operate the train horn as a warning or distraction, and enough carriages for valuables, repair materials, or reserves. A locomotive is especially useful when a fortified night approach, ammunition separation, or a long route makes the train’s slower speed and higher coal consumption less important than its carrying capacity.
-
A large stock of valuables or repair materials
-
Multiple weapon operators
-
A fortified night approach
-
Enough space to separate ammunition from cargo
-
A route long enough for coal planning to matter
-
A final position from which a boss can be engaged
When a horse is the cleaner choice
A horse may be the better expedition vehicle when the crew has little cargo, no meaningful plan for the cannon, and a goal that rewards speed. A mounted player can also make more direct decisions about detours and threat avoidance. However, the group should account for what happens after the first successful engagement: stopping to loot, protecting mounts, and finding a safe place to recover can erase a speed advantage.
The horse scouting method works well when one or two players gather information, locate a route, and return with a clear plan. It is less effective when the objective requires a sustained defense platform. Players interested in the class and mount side of that decision can review the dead rails horse mastery overview.
Practical Cannon Build and Match Checklist
A complete dead rails cannon setup should be tested before the route, not assembled during the first emergency. The checklist below turns the available equipment into a repeatable plan and reduces conflicts between driving, defense, fuel management, and cargo handling.
Cannon Setup Before the Run
-
Confirm the locomotive. Inspect the cab, doors, windows, and cart connections.
-
Reserve ammunition. Keep the cannon ready with enough supplies for a planned engagement.
-
Assign seats. Lock the driver, gunner, stove manager, and door defender into roles.
-
Agree on horn signals. Use short signals that everyone understands.
-
Stock fuel. Carry coal and a reserve because consumption varies with route and speed.
-
Check the route. Identify likely stops, chokepoints, and areas where speed matters more than armor.
| Build area | Minimum preparation | Failure warning |
|---|---|---|
| Cannon | Firing path clear and operator accessible | Gun cannot rotate |
| Ammunition | Organized and within reach | Shells mixed with blocking cargo |
| Crew | Defined seats and responsibilities | Multiple players control the driver |
| Fuel | Reserve beyond the estimate | Engine begins losing power |
| Defenses | Doors and windows protected | Cabin becomes the only cover |
| Communications | Horn pattern rehearsed | Crew reacts to different assumptions |
Target Priority During the Cannon Fight
Start with the largest immediate threat, especially anything moving toward the locomotive or blocking the track. Let the gunner maintain priority fire, while other players cover the cabin, doors, and cart access. Avoid rotating seats during the first wave. Once the group understands the threat pattern, the driver can choose whether to keep moving, stop behind a fortification, or clear a route.
If the train stops, remember that community troubleshooting reports often point to an empty stove, blocked track, or driver error rather than a cannon failure. Assign one person to diagnose the train while the gunner covers the group. Fixing the root cause prevents a fuel or navigation mistake from becoming a defensive disaster.
The final operating rule is simple: the cannon protects a functioning expedition. A well-placed gun on a moving, fueled train creates a strong defense platform; the same gun on a stalled or disorganized train can become a liability. Use the locomotive, cart, horn, and seats as one coordinated system, and the cannon will add far more value than a standalone weapon.
Frequently Asked Questions
What is the best dead rails cannon setup for a small crew?
A small crew benefits most from one driver, one cannon operator, and a cart that keeps ammunition accessible without blocking a door. The locomotive should also retain enough coal to reach the intended destination. Add armor around the active firing area, but avoid spending the entire budget on protection that reduces speed without addressing fuel or crew coordination.
Should the dead rails cannon be placed at the front or back of the train?
The front is usually safer because the gunner can engage approaching enemies before they reach the passenger cars. A rear placement can be useful against enemies chasing the train or when a location favors a specific approach angle. Test the available firing arc and ensure the driver can continue operating without crossing the cannon’s line of fire.
How should a crew use the dead rails train horn?
Use the horn for clear, repeatable coordination, such as one short blast for assembly and two for a defensive position. Agree on a simple pattern before departure and keep signals short. During combat, the cannon operator should focus on the target, while the driver responds to agreed signals without excessive or conflicting horn use.
Does a horse outperform a train when using a cannon?
A horse can be faster and more flexible for a light, short objective, but it cannot match a train’s storage, armor options, and sustained defense platform. A train is generally better for a cannon-centered expedition involving cargo, multiple crew members, and repeated encounters. The best choice depends on route length, available fuel, and how much protection the group needs.
What is the most useful dead rails train tip for cannon users?
Protect the crew’s ability to reload, drive, and maintain the engine. Keep the gunner near ammunition without blocking movement, assign one driver, and preserve a coal reserve before reaching a contested area. If the train stops, diagnose the stove and track first because a stationary locomotive exposes everyone regardless of cannon strength.